Master Underwater Video: The RAID Action Camera Course with Jeff Goodman (Part 3 of 9)
Over the coming weeks, Jeff Goodman shares in part some key sections from his RAID Action Camera Video Course. Jeff has selected 9 extracts from the Underwater Video Course which will be published here at Scubaverse.com.
Part 3: Underwater Lighting
Having spent your money on a camera you may be a little reluctant to spend any more on a lighting system. Believe me, it’s worth the investment. Even a small simple light is going to make a world of difference to your images.
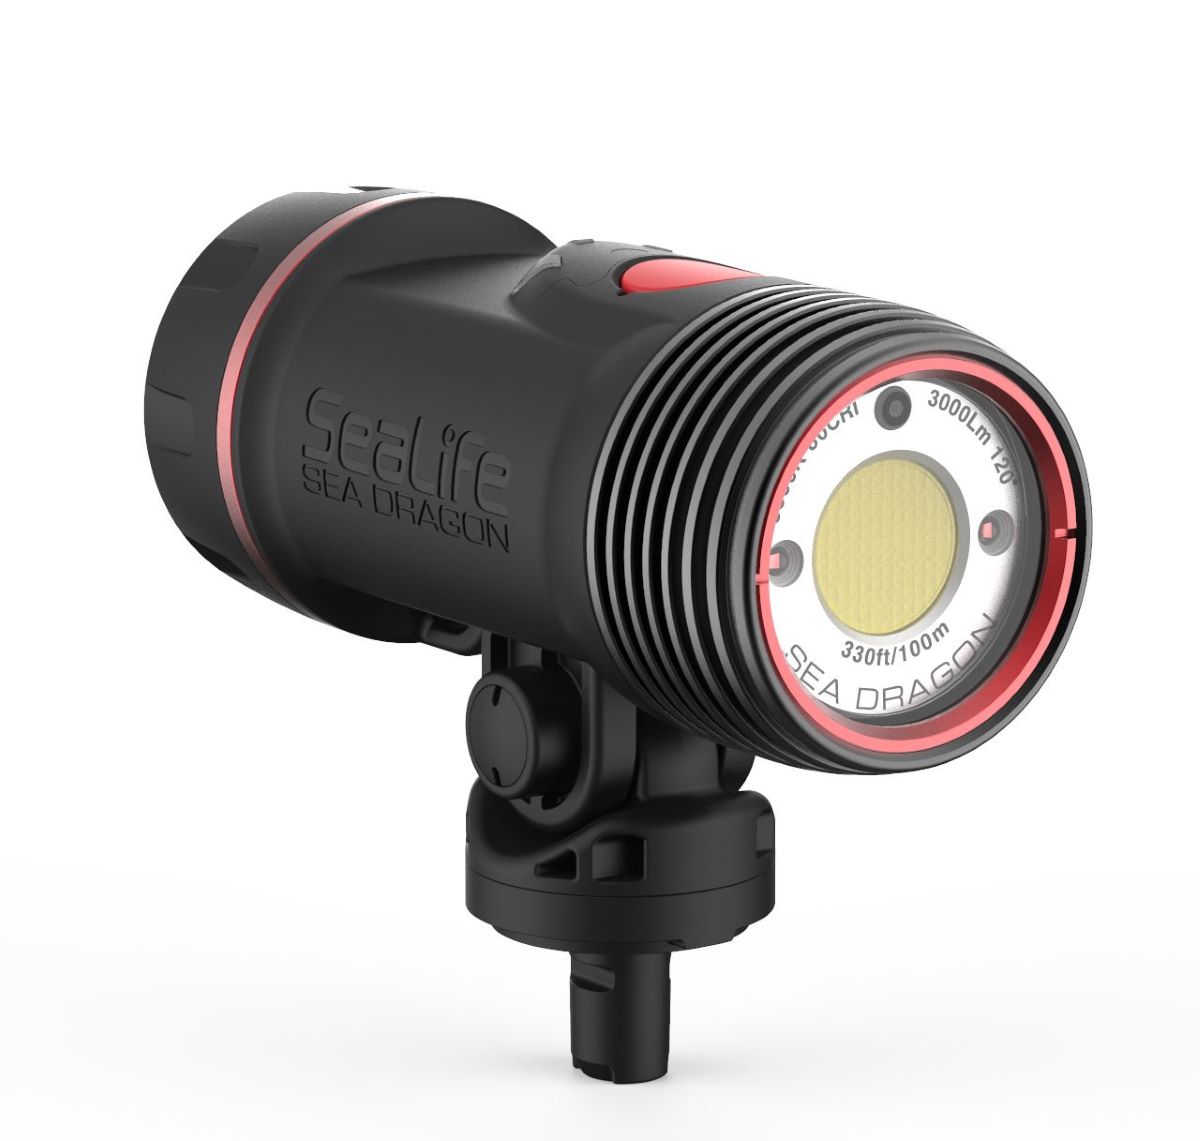
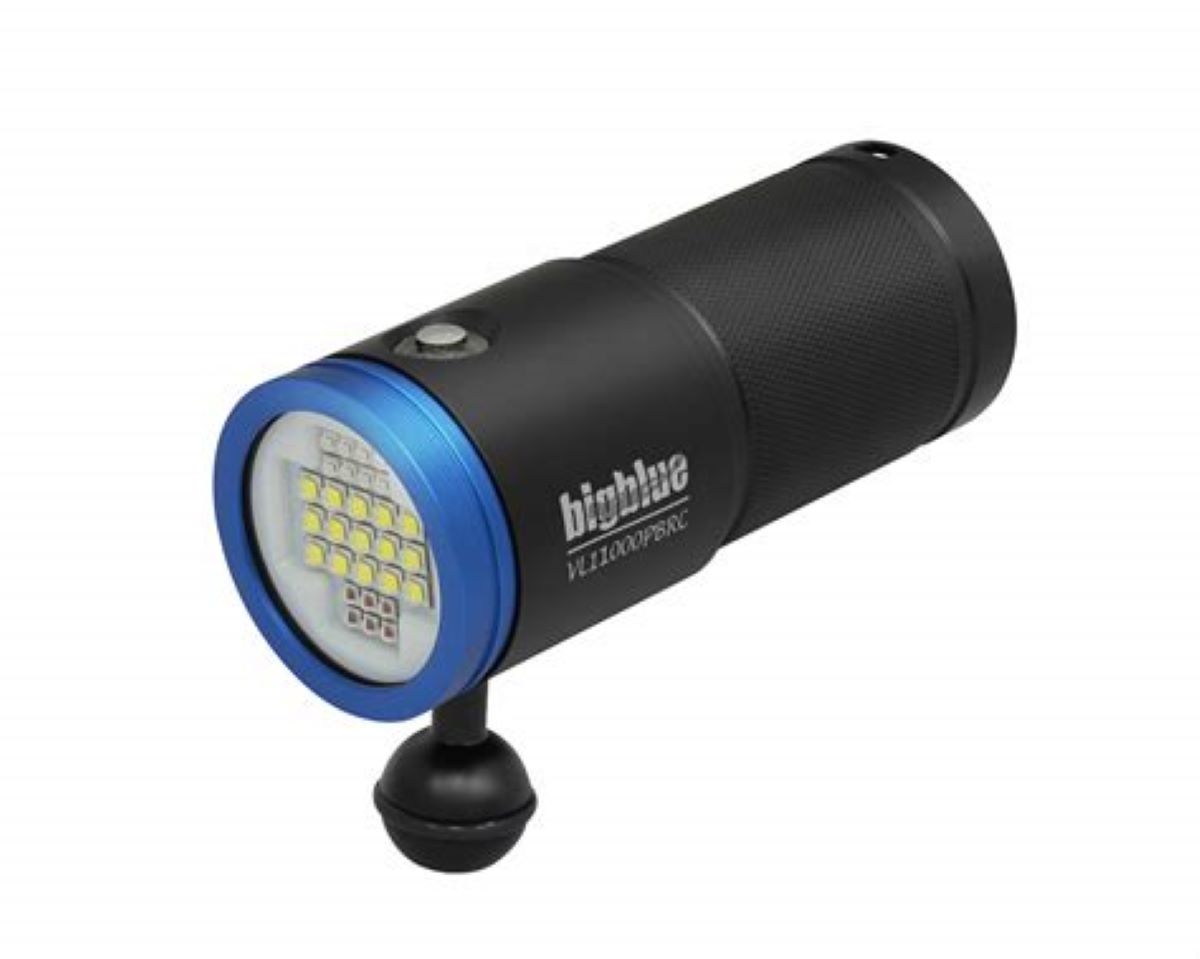
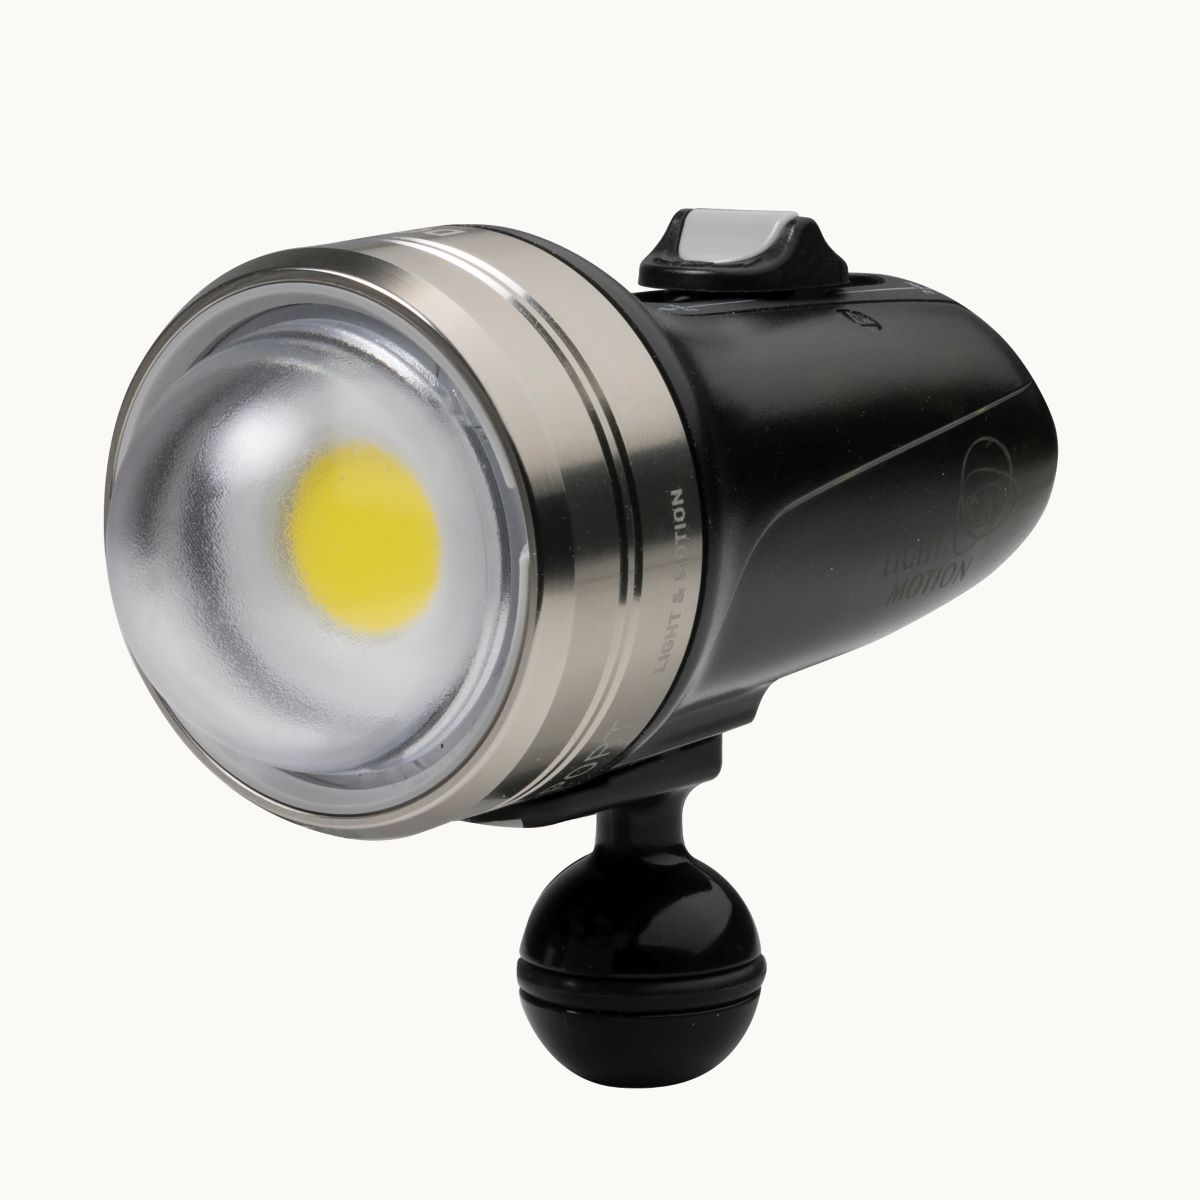
Remember, the basic rule with lights, as everything else is, you get what you pay for. A small plastic cased light with low wattage will cost far less than a large aluminium cased light of high wattage. A more expensive light should give you more power options and longer battery life. It should also give a wider spread of good even light without any hotspots. Read carefully the manufacturers specifications and also have a look at a few forum discussions from people who have already bought the light you are interested in.
Let’s have a look at what exactly underwater lighting is supposed to do. Lighting on the face of it, looks extremely easy. Just put a lamp on and shoot away. Not so. Adding artificial light is crucial to getting great underwater video but at the same time, if done badly, can totally ruin all your efforts. I would say that no lighting at all is far better than bad lighting.
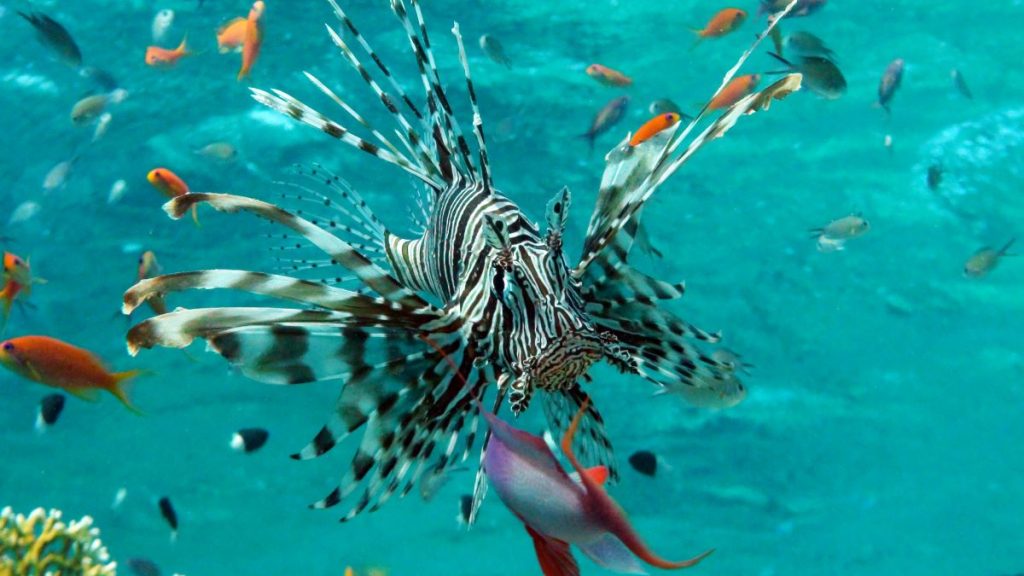
Early lights were always fitted with a tungsten filament and so were red in colour output. Now the trend is to use LEDs which are blue bias and so match daylight. Surely this new trend is an improvement. Well, yes it is, although, we will see when discussing colour balance later on, one of the first colours to disappear (get absorbed by the water) is red, so it makes sense really to put some of that red back into a scene. But, the video light will only influence your underwater scene for as far as the light will travel and affect your exposure. So if you put in red light onto a fish that is near you it may well look good, but the background water or reef will take on a very strange and artificial colour hue.
Whereas a daylight balanced light adds all the other colours of the spectrum as well and so the subject now simply becomes brighter and the colours are rebalanced and should more closely match the ambient and distant water colour.
Lighting with video lights
In my opinion over lighting is the most common mistake a cameraman can make. My aim when lighting is not to increase any exposure value to a scene. In effect, I am not actually lighting a subject, I am simply putting back some colour. (This only applies to daytime videoing. At night your light source becomes totally prominent.)
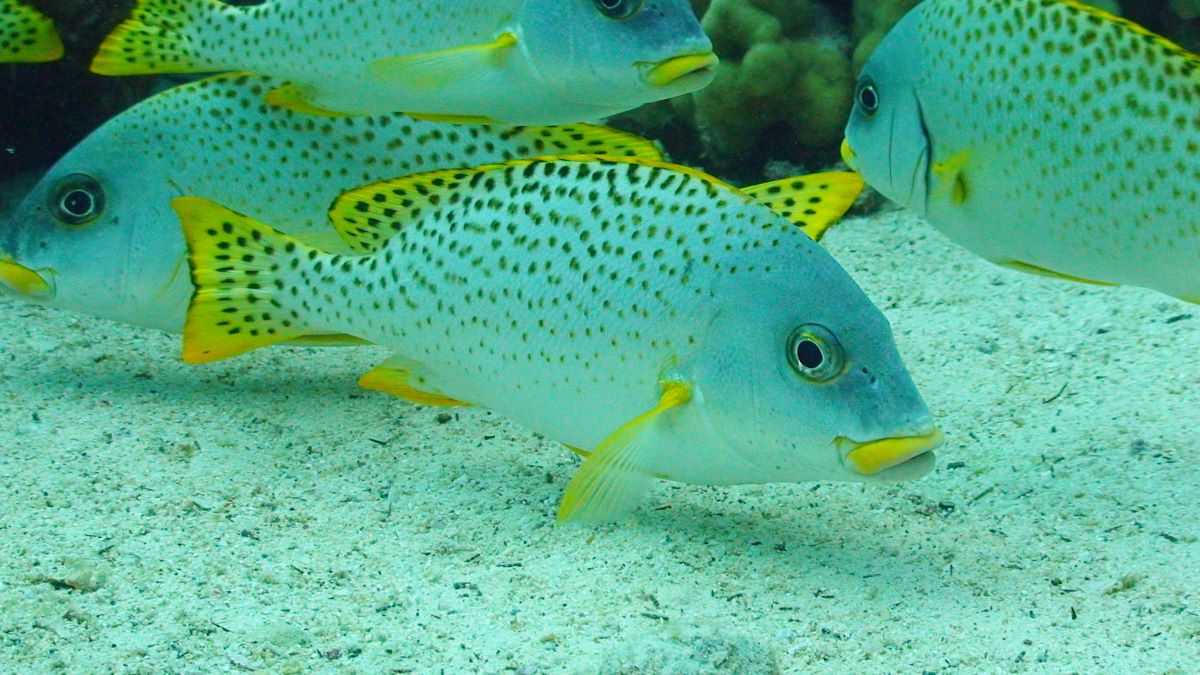
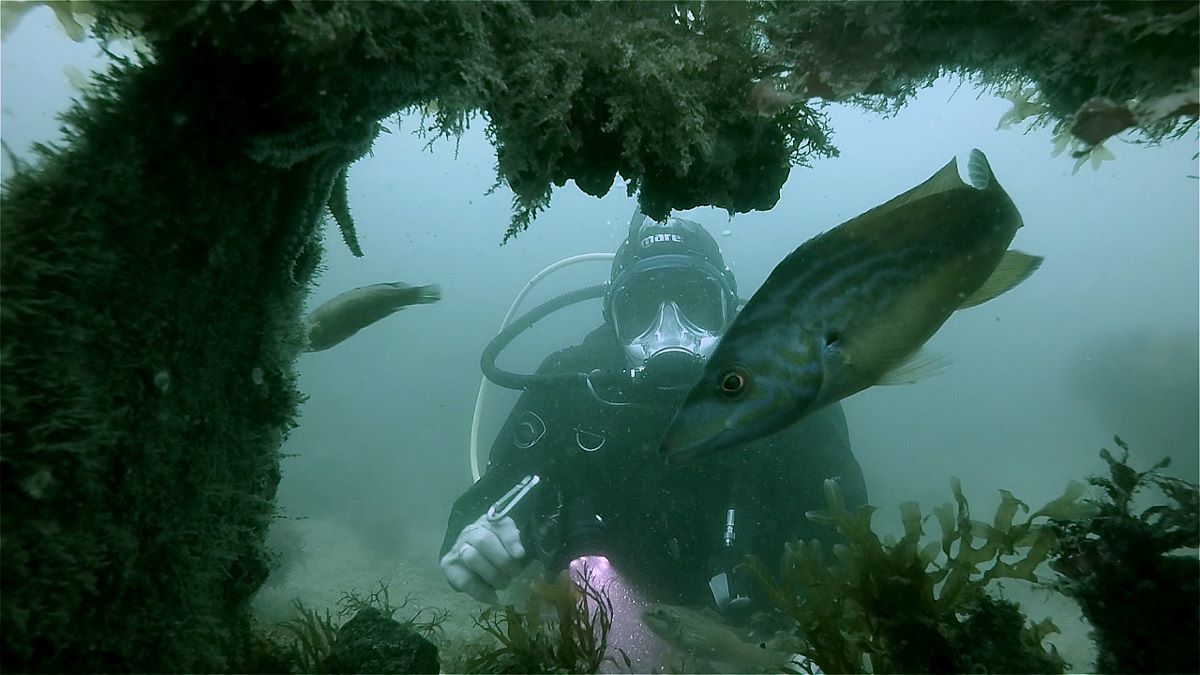
Natural lighting Single video light
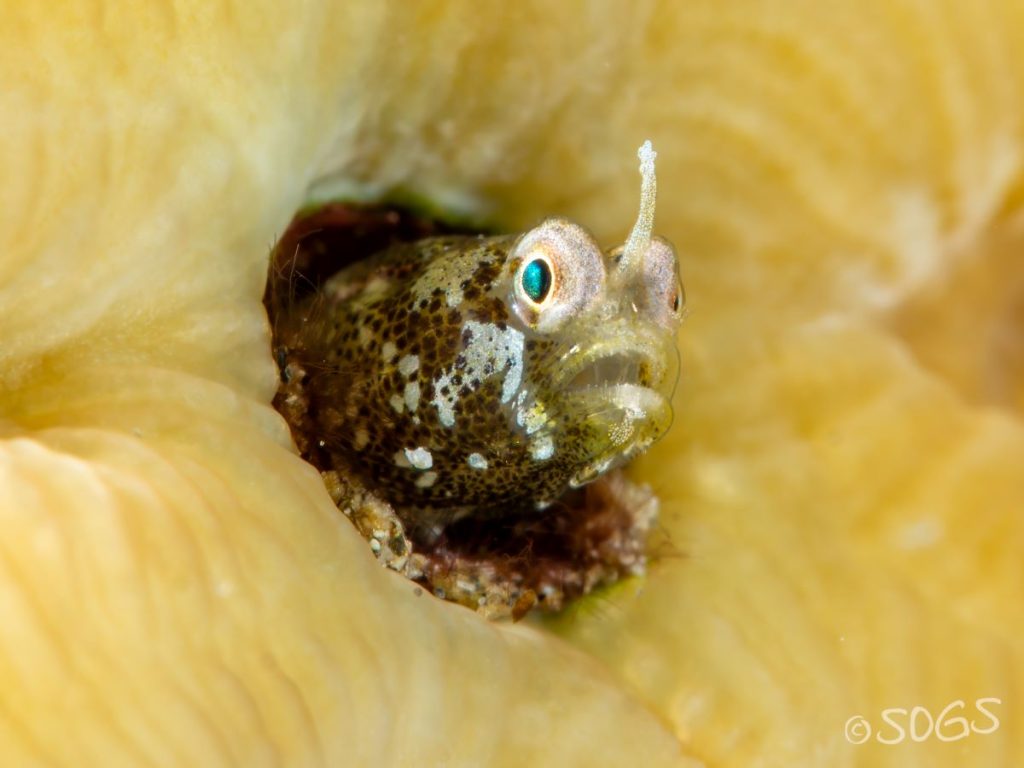
In the above example, the exposure has not been changed between the two shots and so the unlit areas are still both looking natural. However the fish on the right are being gently enhanced by my light, adding colour but not affecting exposure and so they remain in balance with the background. The video light has simply replaced some of the lost colour (on this occasion the light is a 6,000 K LED, daylight).
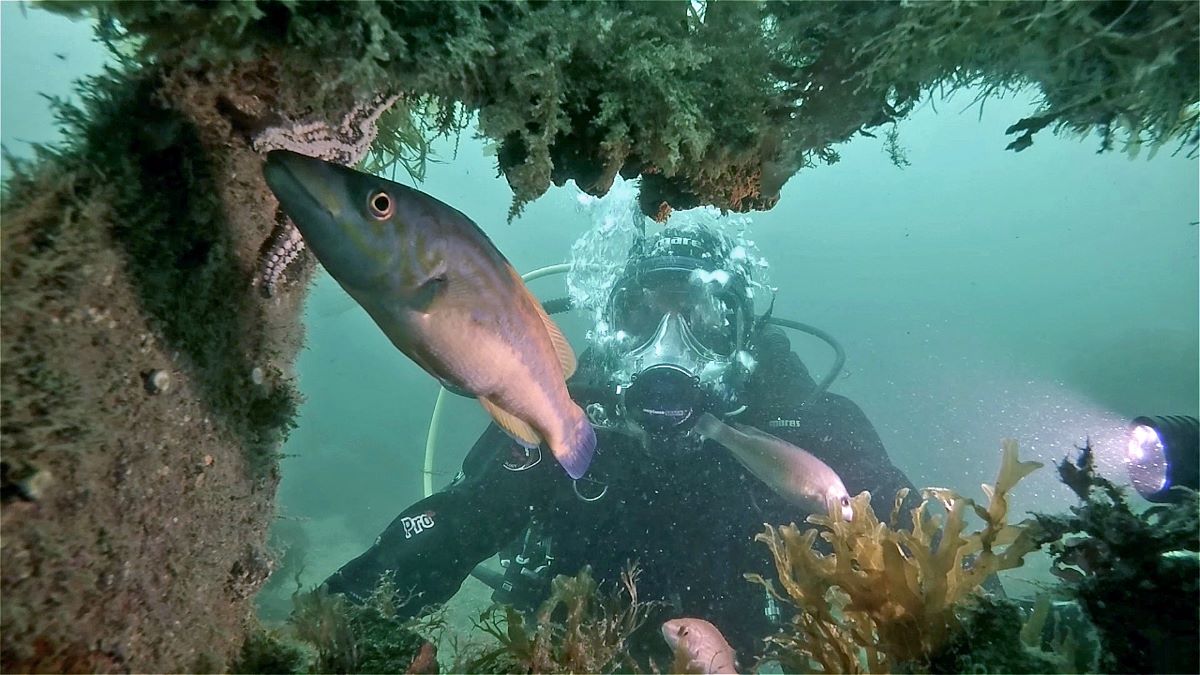
Here I have used a clamp to position the camera inside a piece of wreckage looking out at myself and a wrasse. Again I have balanced the video light with the ambient so as to keep the background looking normal.
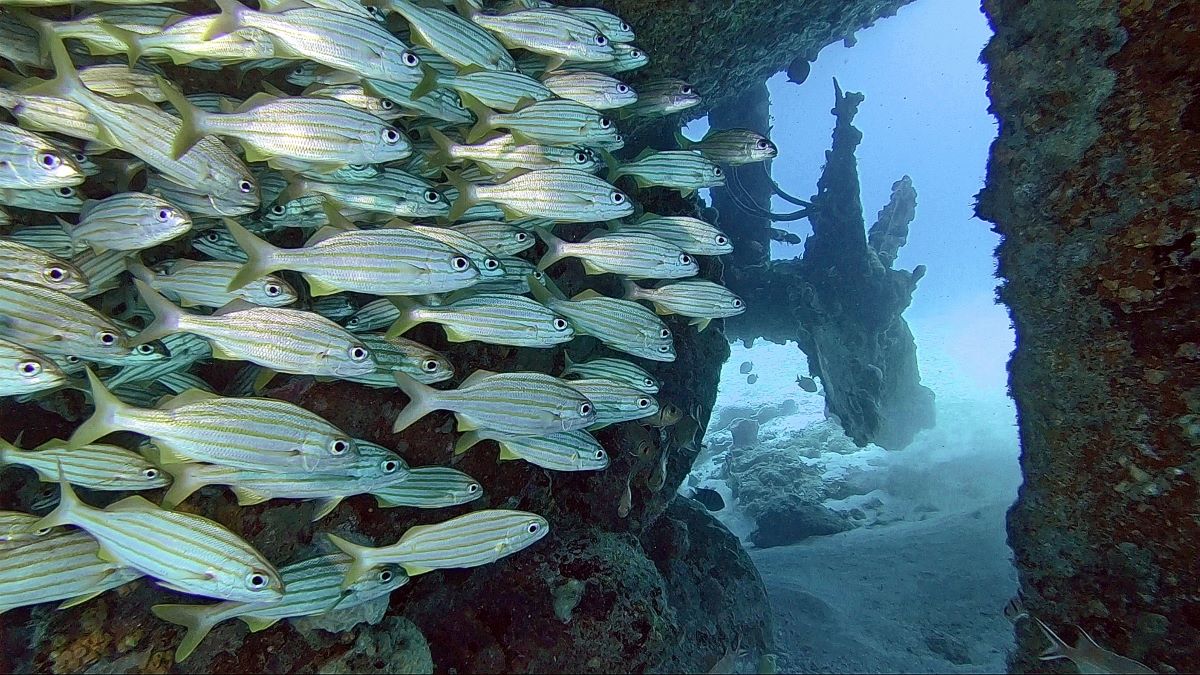
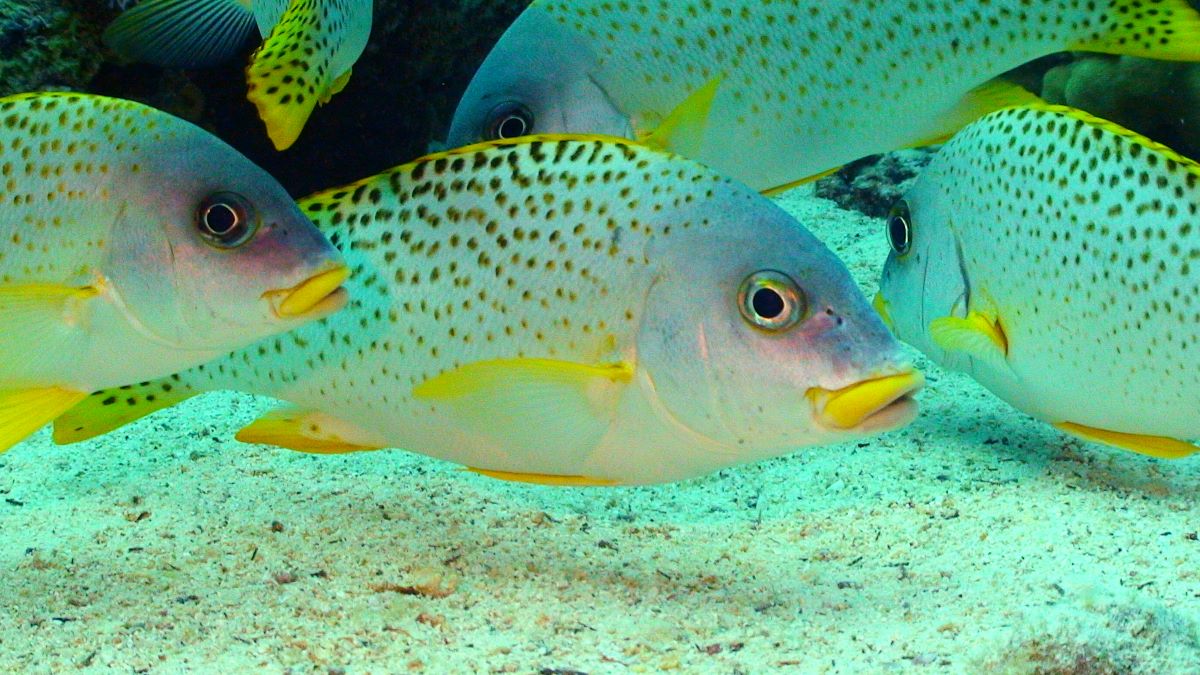
The video light on the shoaling fish is balanced in intensity with the distant background.
Remember, your video light, depending on its power output (wattage) will only have effect up to a certain distance. This is usually a maximum of about 2-3 meters in daylight and 5-6 meters at night time. If it is more than that then it is likely the light you have is too powerful for you to have next to your camera and should be held further away by a willing assistant.
Here you can see an example of where the light is too close to the subject and also at the correct distance.
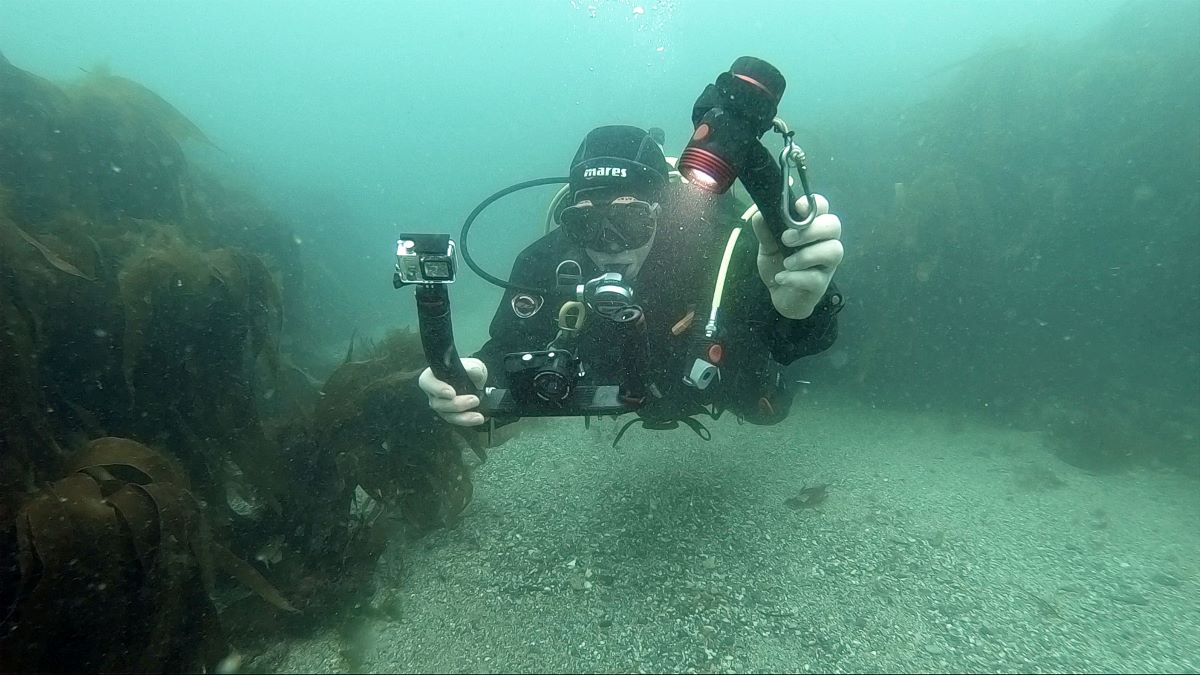
The resulting ‘hot spot’ effectively ruins your shot. To have full control over the effective intensity of your light you need the flexibility to adjust its position, relative to your subject, as it is difficult to alter the actual light intensity while filming. One way to do this is to hand-hold it and not mount it on your camera. In this way you can manoeuvre it at will, bringing it closer or taking it further away from the subject as you choose.
This technique of hand-holding your light does take some practice, as you have to hold the camera with one hand while filming and the light in the other. To do this your buoyancy and diving abilities need to be good. I know that many students will get the hang of this fairly soon but if you are having difficulties with it then do mount the light on the camera for now but do be aware of over lighting. Keep practising the hand-held option as it will give you much more control of your lighting.
The other great advantage of hand holding is the flexibility you get with the positioning of your light. Lighting from the top or the side or even from slightly behind when doing macro becomes very easy. So let’s say you are filming a fish and it starts to get closer to the camera. By hand holding the light there is now no worry of the fish becoming burnt out (too bright), as you can simply move the light further away while keeping the camera steady and in place. Then as the fish moves further away again, so you can bring the light closer. Not easy to do but certainly worth practising. Usually the best position for a light is roughly at 45 degrees to the subject and slightly above camera level. This helps to minimise any backscatter from particles in the water.
Next Time: Ambient Daylight Filming
Find the full course at diveraid.com/action-camera.