The inside of a wreck – do I need a special certification to take interesting photos?
If you’ve ever asked your dive guide during a pre dive briefing whether you’re allowed to go inside a wreck, you may have been told that it will cost you an extra certification, or “specialty.” Either that, or you’re diving the SS Thistlegorm in the Red Sea and the first time you consider venturing inside the wreck is as your guide carelessly swims into a dark void, leaving you to contemplate your choices, but that’s another story…
A “penetration” dive (yes that’s a technical term, don’t look at me like that), involves diving inside a wreck where direct, upward access to the surface isn’t possible. Dives of this nature require specialised training, such as the “wreck” certification, or other advanced technical courses.
This may lead you to think that the best photos are unavailable to you until you can justify forking out for that next plastic card. However, if you are willing to think outside the box and be a little bit creative, you might be surprised. Here are three techniques for taking interesting shots while staying outside the wreck:
Technique 1: Shooting through gaps
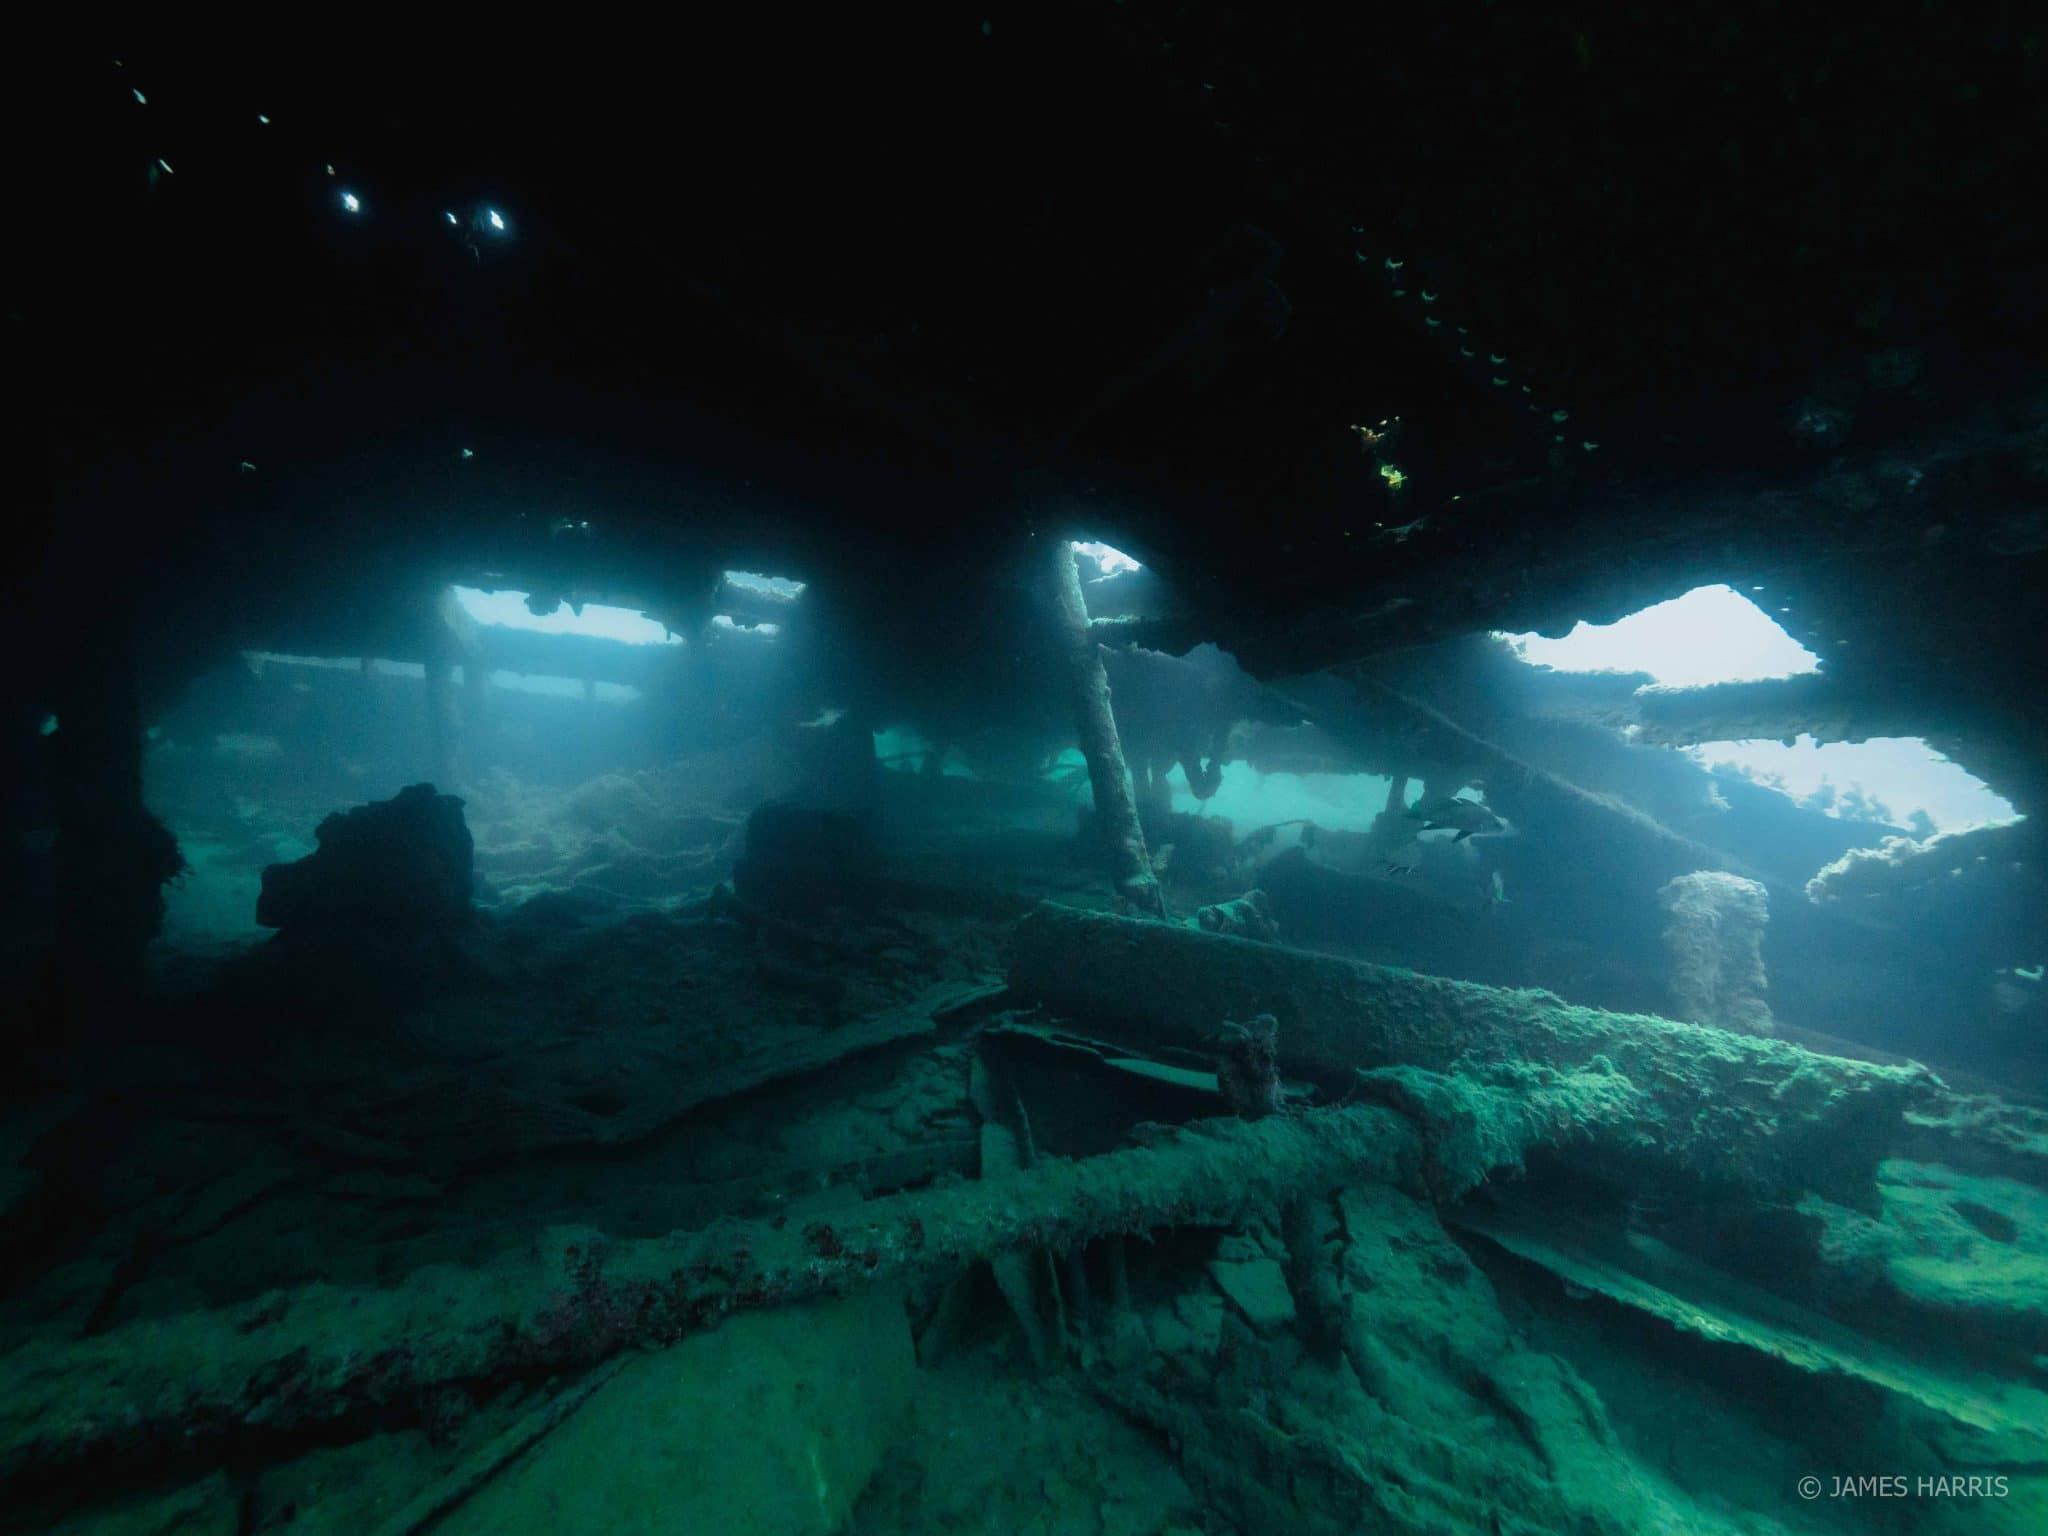
The photo above may look like it was taken from inside of the wreck, but apart from my arms and camera, I was still outside. Shooting through a gap in the hull (see the diver in the picture below) resulted in a moody shot looking up through the damaged deck, which let just enough light through to illuminate the mechanical parts on the seabed.
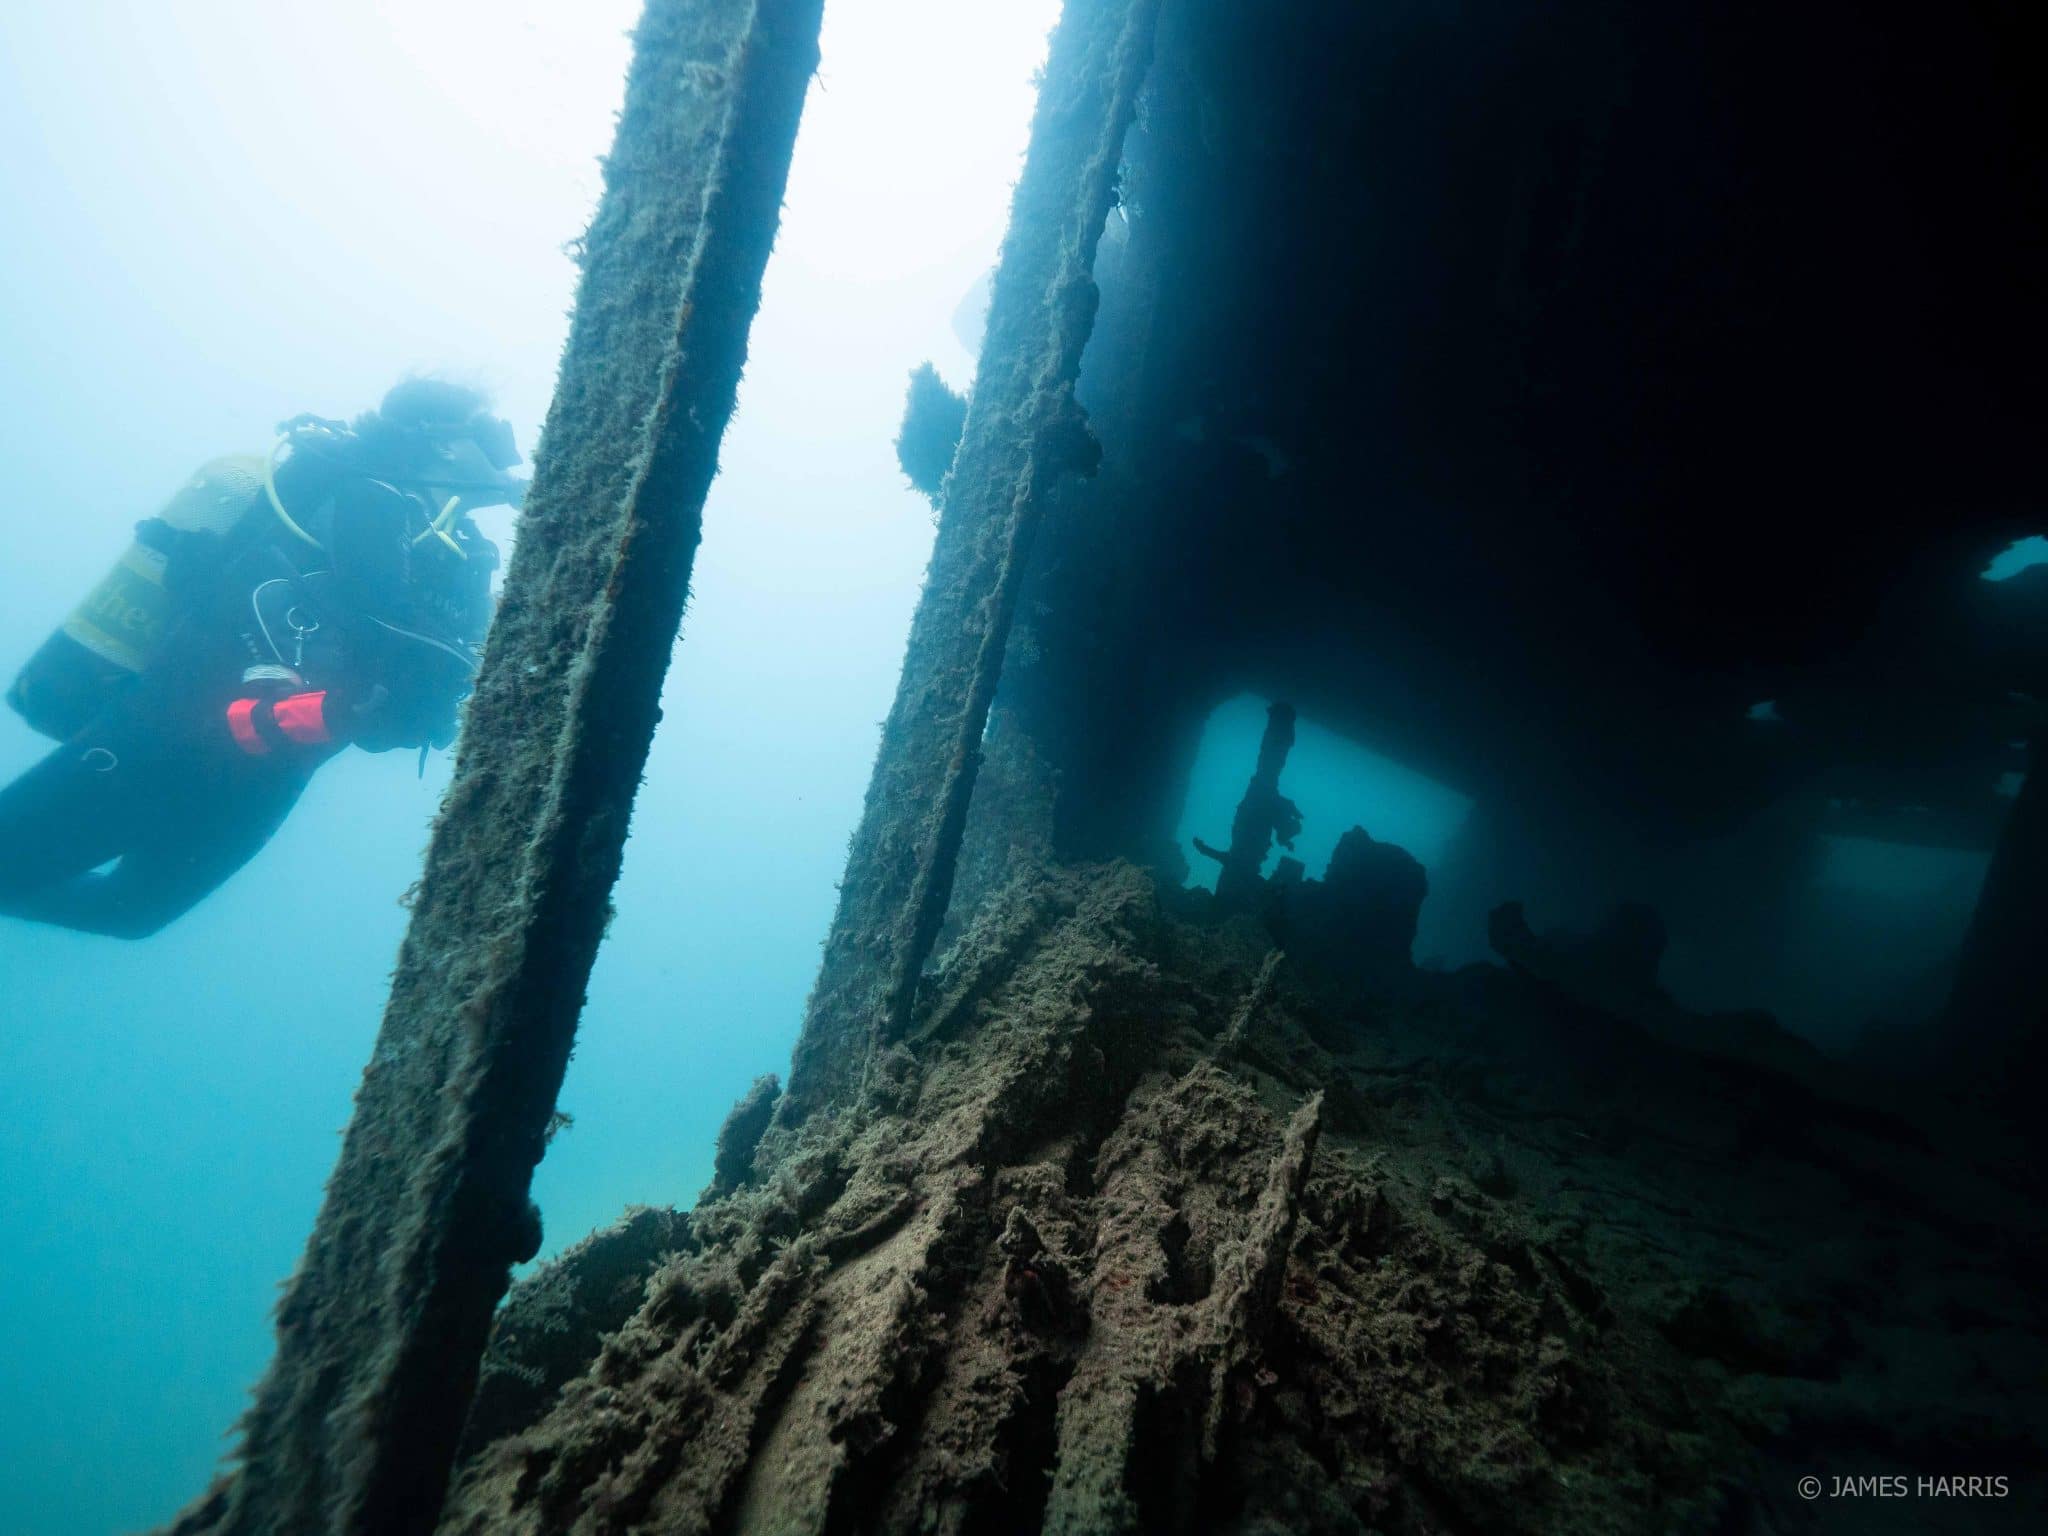
Most divers swim straight past these gaps, or only briefly glance through. But spaces such as these offer surprising opportunities for interesting pictures! This is particularly true when sunlight shines through openings in the deck/hull in the background of the shot, creating the type of unique lighting I captured above. Keep an eye out for gaps (big and small) on your next wreck dive and see if you can take a similar photo!
Technique 2: Carefully framing and forced perspective
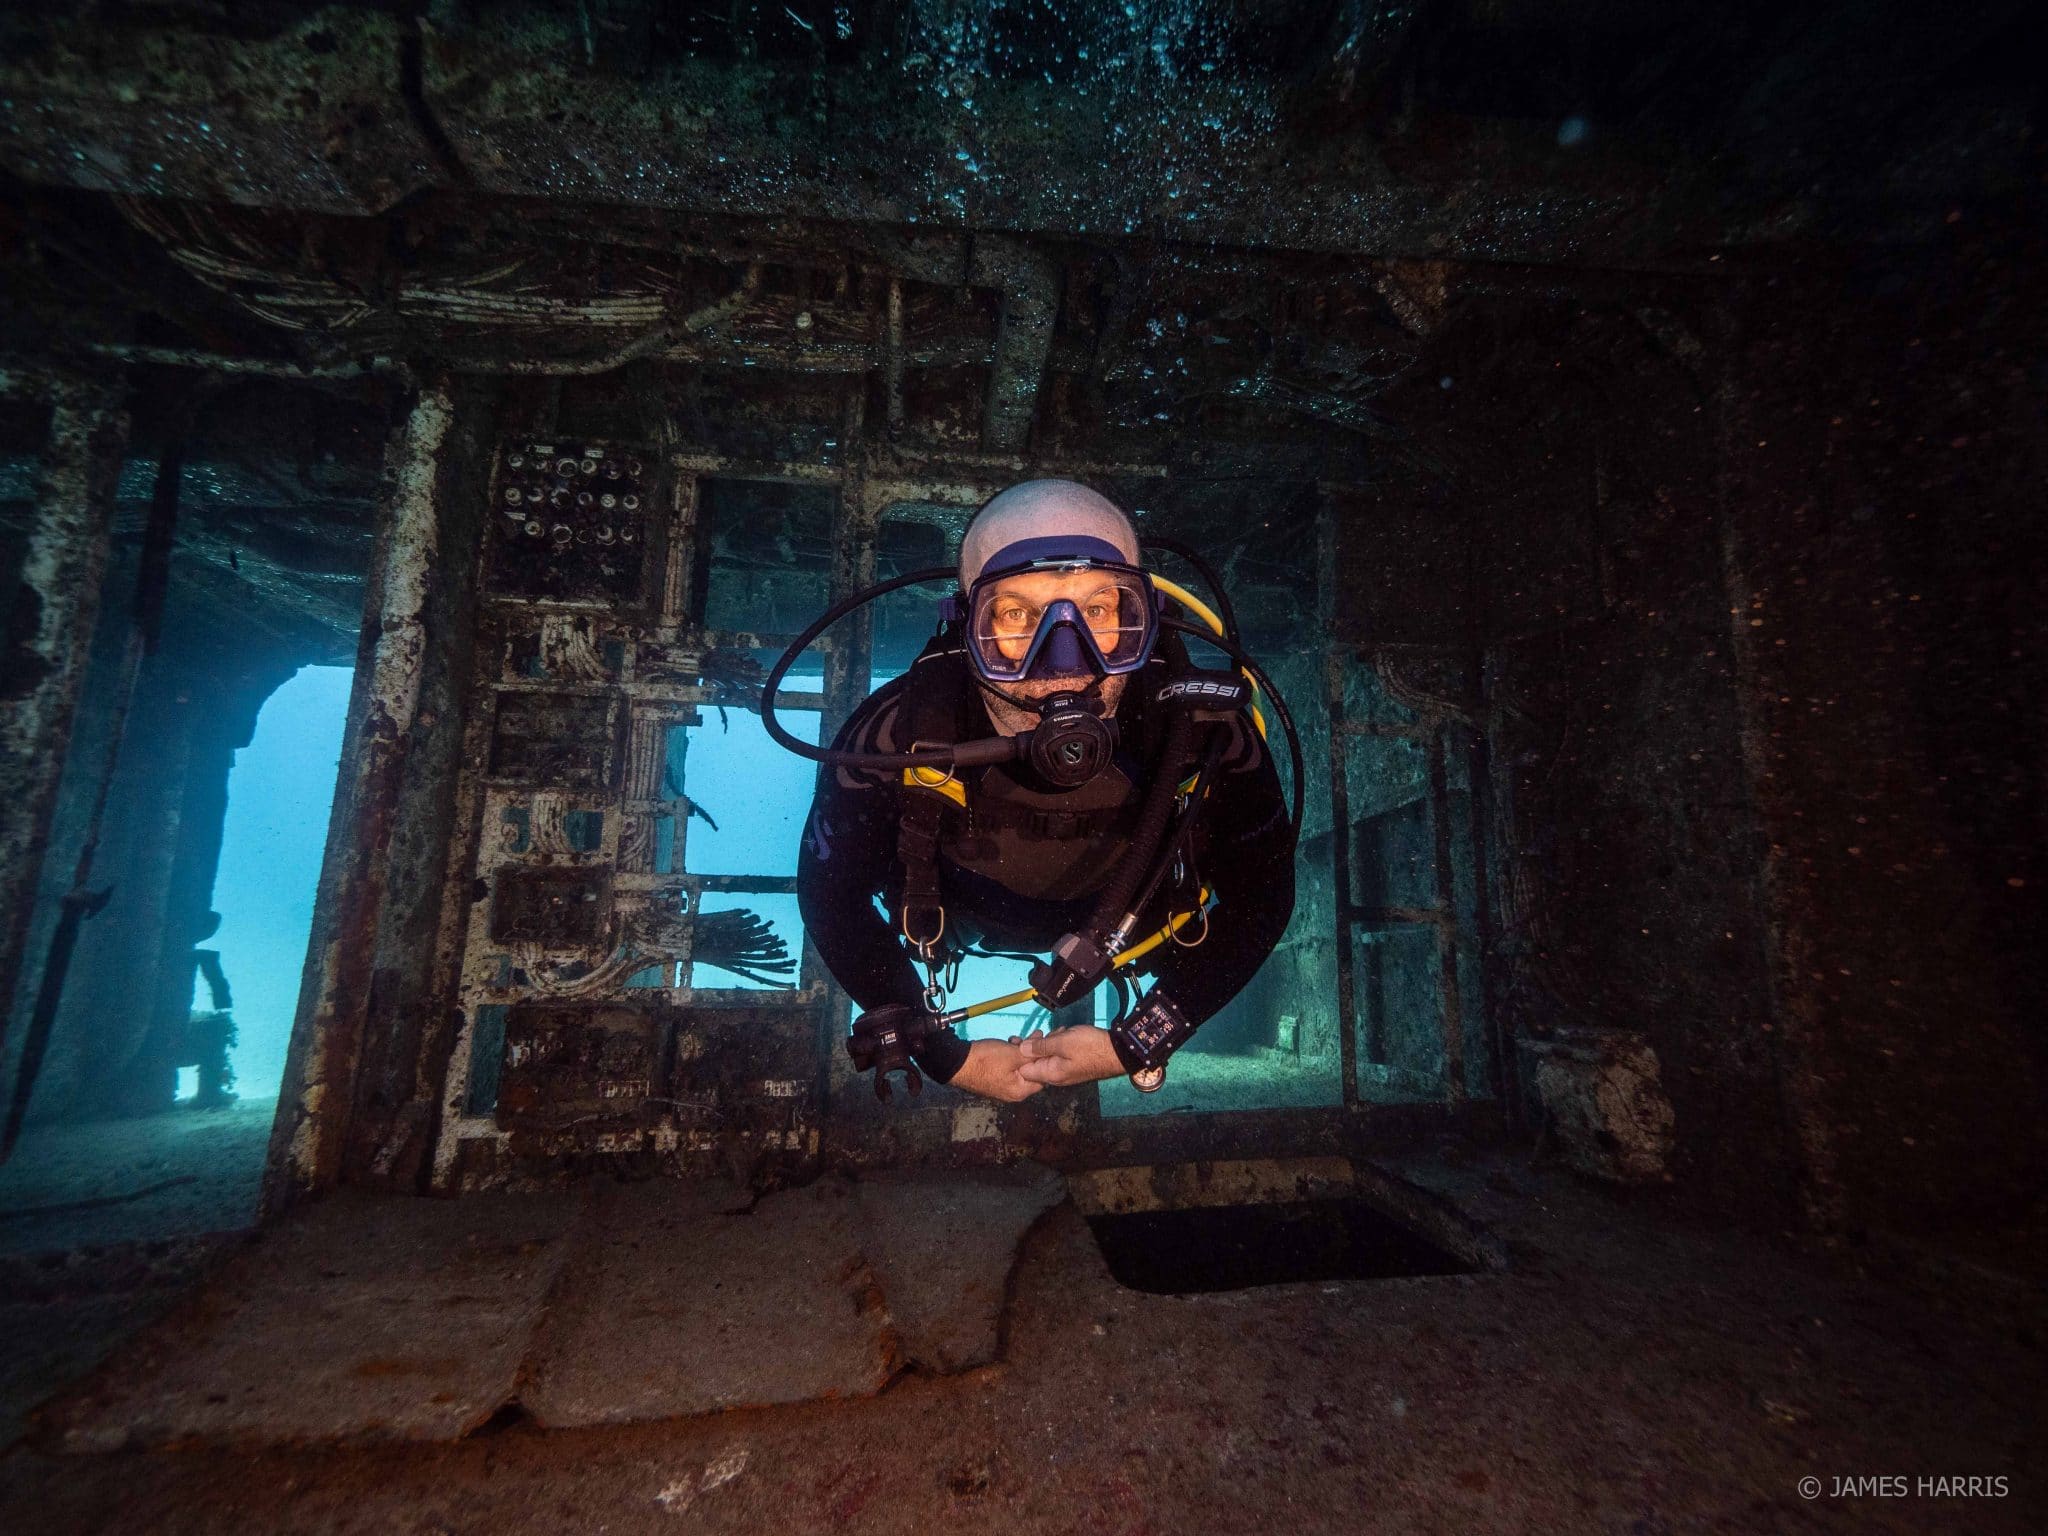
As with the previous photo, you might assume the image above was taken during a penetration dive, however both me and the diver were in fact outside of the wreck. So, how did I do it? Firstly, I positioned the subject in front of a swim-through with a naturally well-lit background. Secondly, I made sure the foreground at the top and bottom of the image was cropped, hiding how far forward the ceiling/floor extended. Finally, I illuminated the foreground with artificial lighting to made it look as if there was no sunlight above. The result – an image where both diver and photographer appear to be inside the wreck. Keep an eye for interesting swim-throughs, line your shot up carefully, and you’ll be surprised how convincing your picture can be!
When I was taking this shot, if I were to look straight up, there would have been bright blue ocean above me!
Technique 3: Shooting from above
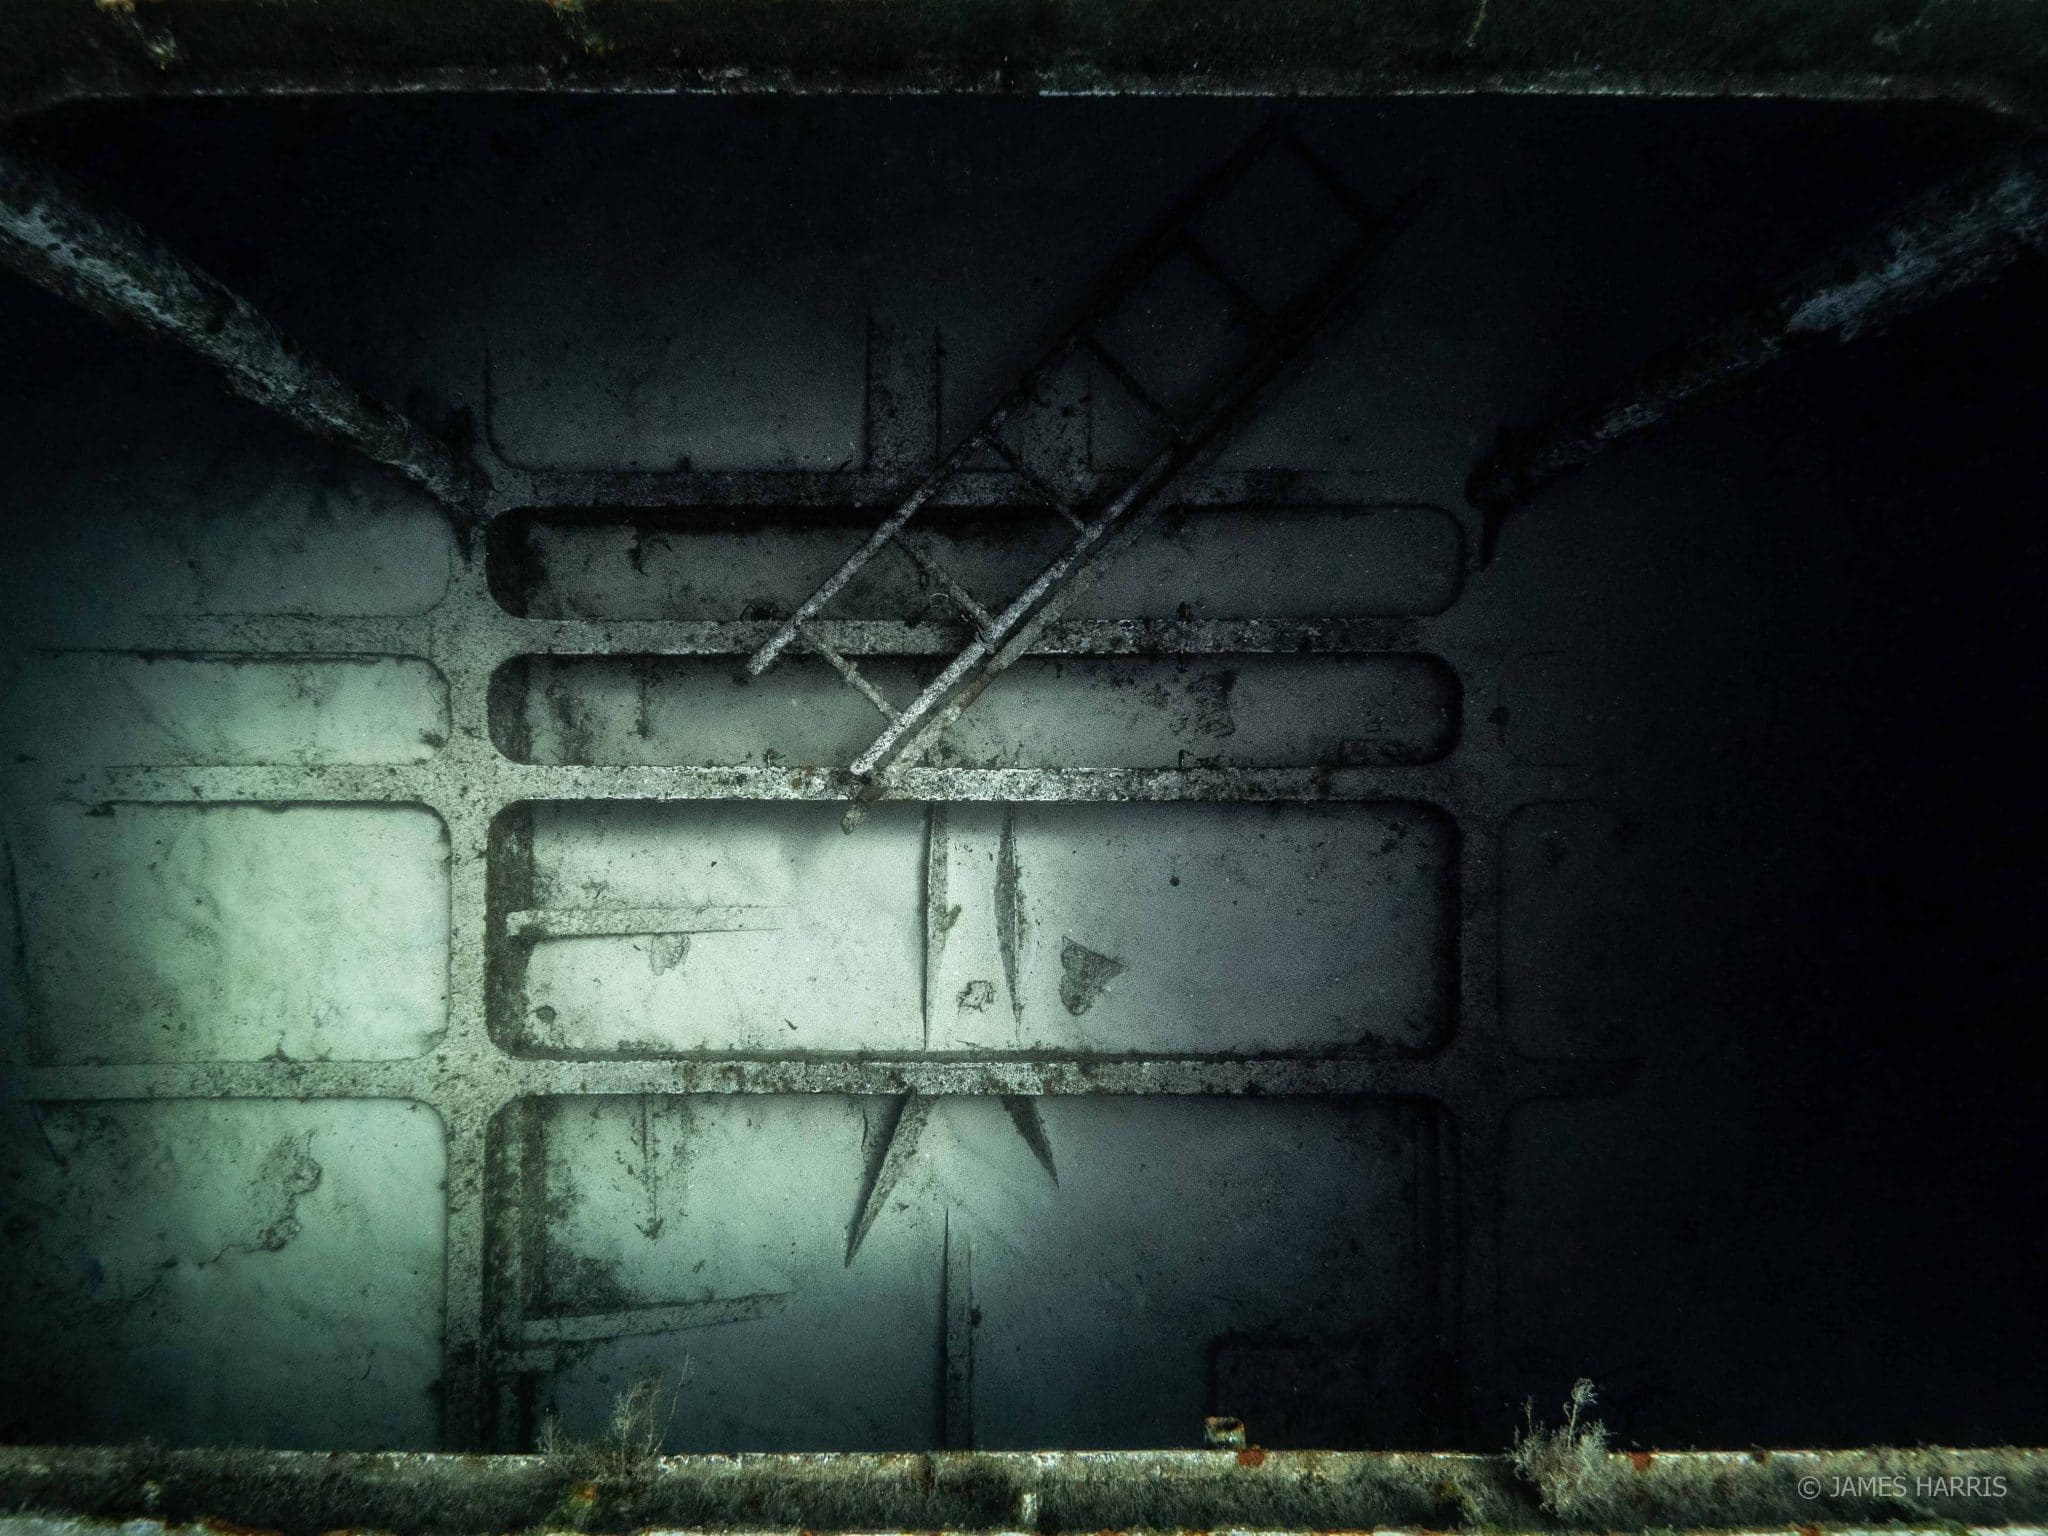
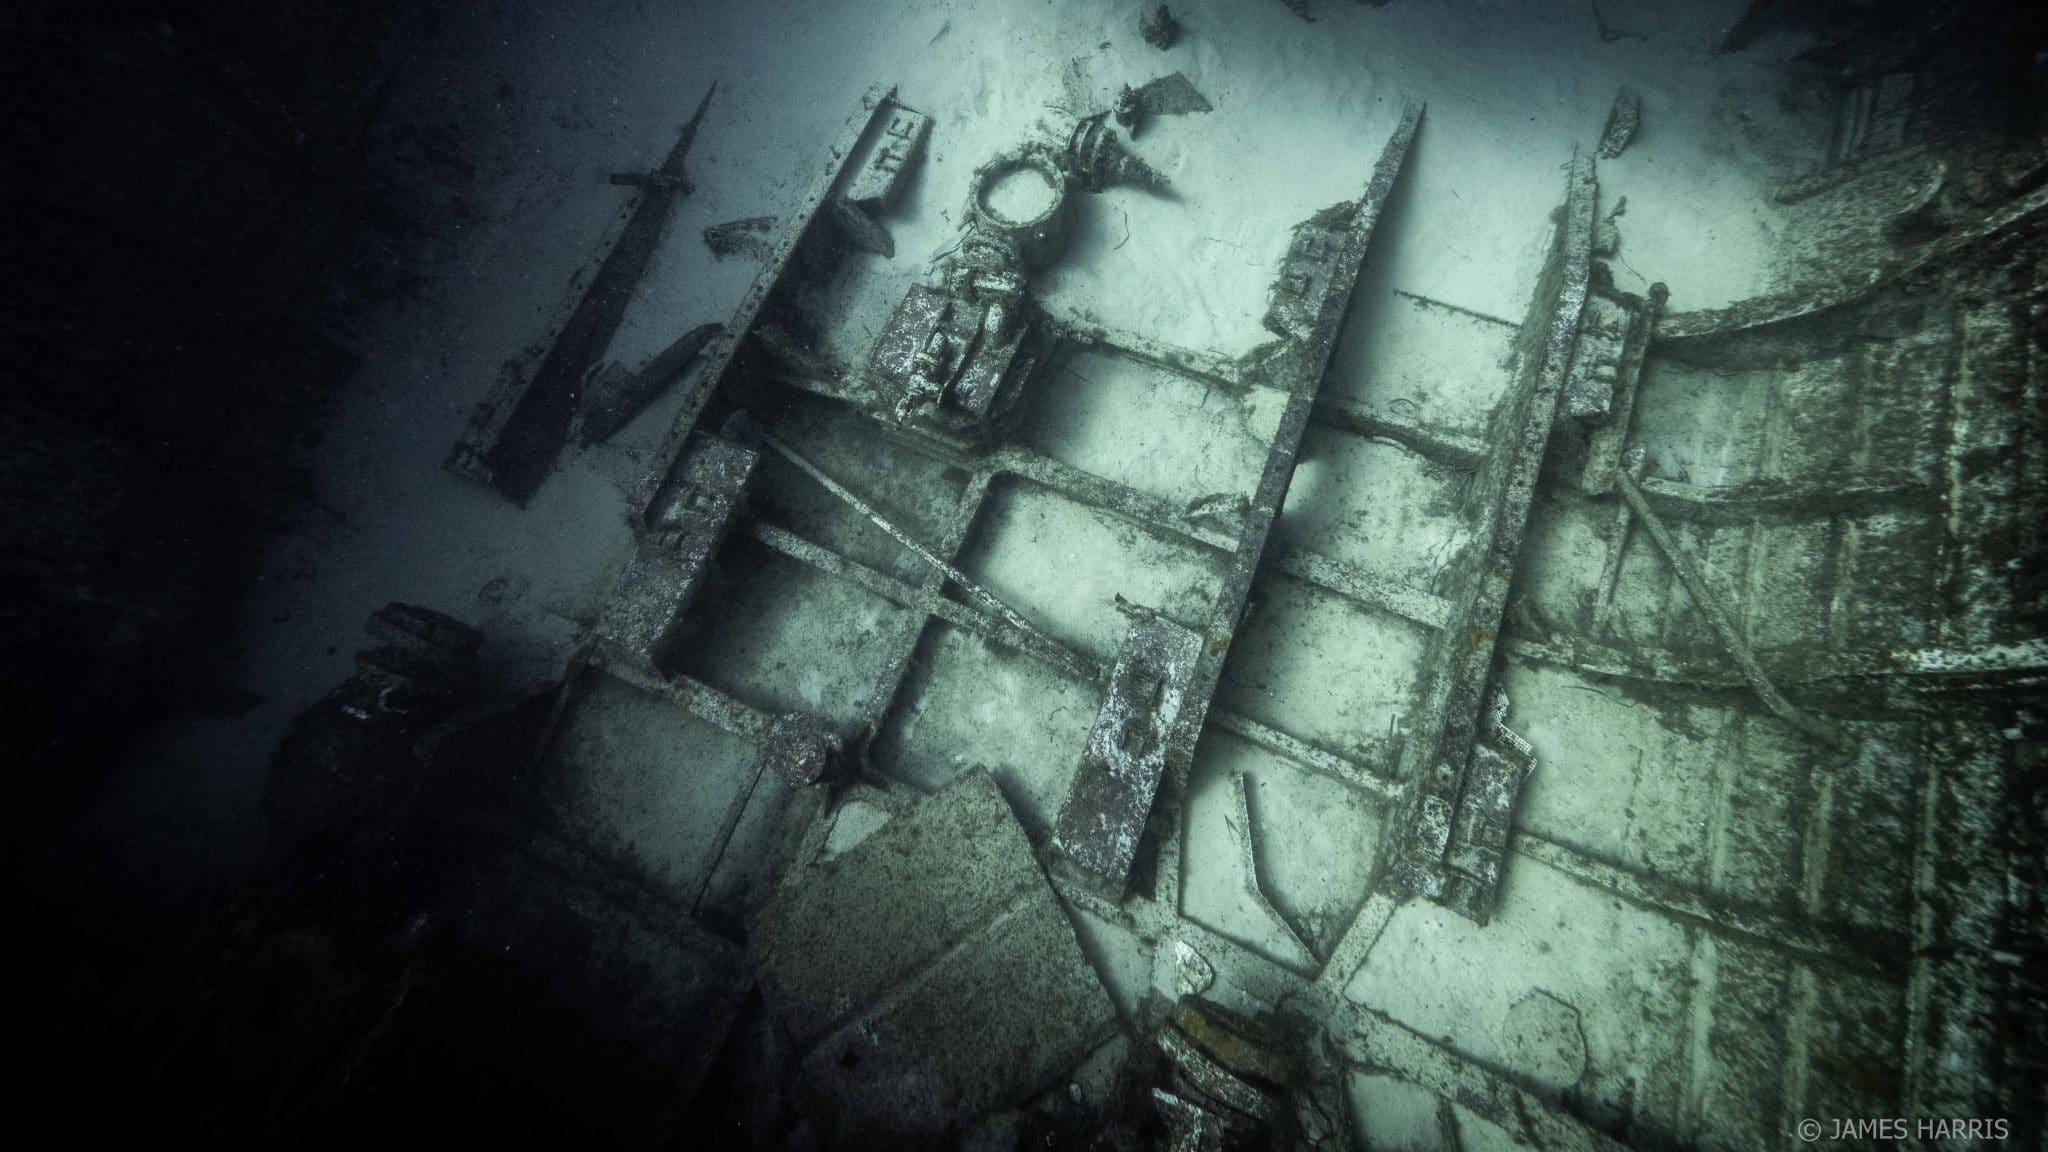
This photo is a little different. Conventional wisdom tells you that shooting straight down is a bad idea. This is generally true, but only because you often blur the distinction between background and foreground and interesting features become lost. However in this case, a storage hold created a unique exception to the rule. Keeping the edge of the steel opening in the frame helped create depth that is generally lost shooting down, and the contrast between the sand and the darker steel framework helps this image pop. The black shadows that creep in from the dark edges create a sense of uneasiness that really draws you in. As I was floating above this dark space, I couldn’t help feeling an urge to slowly sink down into it. As someone that shouts at the characters in horror films not to do stupid things, I couldn’t help but feel a bit hypocritical…
So, to answer to my original question – no, you don’t need that cert to take interesting wreck pictures! Get creative and try these three techniques on your next wreck dive. You might just swim away with something quite unique!