Master Underwater Video: The RAID Action Camera Course with Jeff Goodman (Part 8 of 9)
Over the coming weeks, Jeff Goodman shares in part some key sections from his RAID Action Camera Video Course. Jeff has selected 9 extracts from the Underwater Video Course which will be published here at Scubaverse.com.
Part 8: Dive Planning
Forward planning is an essential part of any dive experience, but when you are filming as well, then the planning needs to be even more well-defined.
Here is a list of things to consider:
- The dive location. Where are you diving? If there is a strong current or swell, poor visibility, or the temperature is very cold, can you cope with the added burden of your camera housing and lights? Plan for the state of the tides you are going to dive in, especially in temperate waters where the visibility can change dramatically between incoming and outgoing tides. More likely than not, the best visibility is going to be at high-water slack, but this varies depending on the location.
- If the visibility is poor, are you able to film? If you can, be sure to plan the dive carefully with your buddy, keeping safety as a top priority.
- Plan for the time of day. This can be important. For good lighting, the sun gives the most penetration into the water when it is at its height around midday. But most animal activity can be seen early morning or evening. Low early morning and evening light can give a beautiful quality to the water if the visibility is good, but may produce backscatter if it is poor.
- Diving buddies. Who are you diving with? Are they sympathetic to your filming desires? Will they be happy to stay in one place if necessary?
- Filming your buddy. If you are going to film your dive buddy, does he or she know what kind of thing you may want to do? A storyboard (coming up in the ‘Sequence Structure’ chapter) will help to define this before you both enter the water. Communication underwater can be very frustrating, so make sure you both understand the same signals.
- Talk to the boatman. Make sure your boat cover knows your plans. Also, make sure the boatman knows how to deal with your precious camera when you pass it up.
- SMBs. Towing a surface marker buoy at the same time as filming is very restrictive. If you need one, then preferably get your buddy to tow it. Regardless of videography, you should always carry an SMB for when you surface and do your safety stop.
- Assess any dangers. Where are the nearest medical facilities? This may seem an obvious part of normal diving, but when videography is involved, people will try to push their limits just to get that extra shot. Remember that your safety comes first; the animals will be there another day. Know your own safe limits.
- Know your subject. If trying to film a particular species, do your research.
Story Boards and Planning
A story board is pretty well just what you think it is. A graphic representation of how you would like the shoot to go. A sequence, or series of sequences, drawn out in picture form. The idea of this is to plan out all your sequences in terms of required behaviour, narration, the type of shots you want, and the order in which you need them when you come to edit. It really doesn’t matter if you are a good artist or not, as long as you understand what you have drawn.
The reaction I usually get from students is, ‘Why? It’s a waste of time. We don’t know what is going to happen, so how can we possibly draw a story board? It will be pure fiction.’
Well, actually no, it’s certainly not a waste of time. It may end up being pure fiction, but there are several good reasons for doing it anyway.
Firstly, it will get you into the practice of thinking about sequences rather than just random shots as the opportunities arise. Let’s work through an example. We know that on our next dive we are going to be with turtles on sand. Let’s have a look at a possible story board.
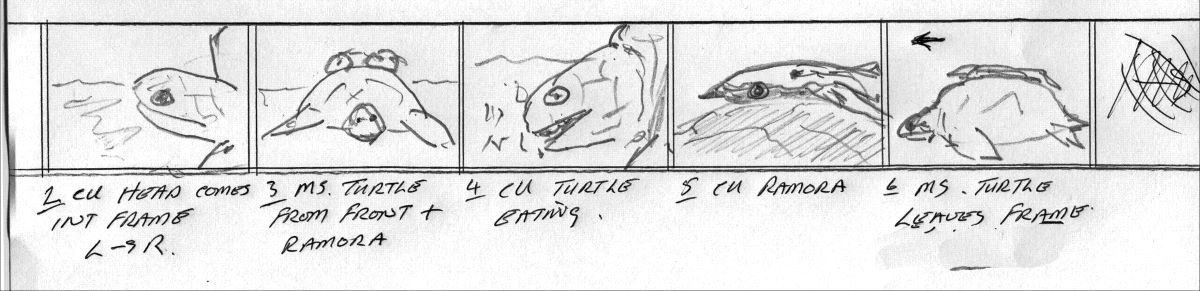
W/A – Wide Angle
M/S – Mid Shot
C/U – Close Up
Frame – Description
- A clear stretch of sand in mid shot.
- In close-up, a turtle’s head appears in frame from left to right.
- Wide to mid shot of turtle feeding, shot from the front showing remora on its back.
- Close-up of turtle head, beak chomping on sparse eel grass.
- Close-up of remora.
- Hold camera position so as to let the remora and turtle go into the distance or out of frame.
- Big close-up of turtle eating.
- Mid shot as turtle lifts its head and heads for the surface, swimming up and out of frame.
- Etc., etc., etc…

OK, so it may not go that way, but at least you have a plan in your head and you are starting to develop the idea of sequences. With this basic framework in your mind, you are able to adapt with greater ease to the real situation.
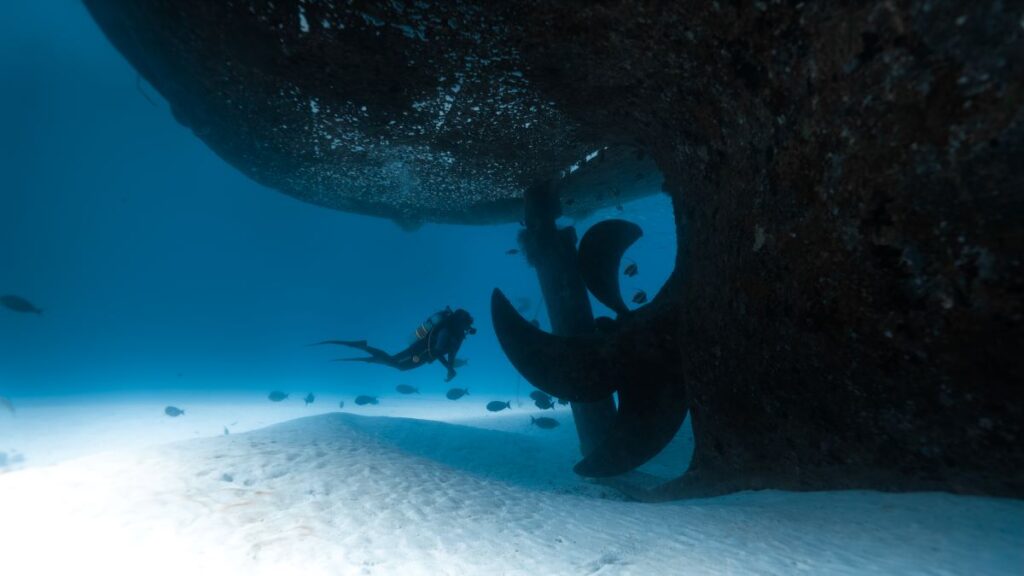
Here is an example of a short sequence you could film on a boat.
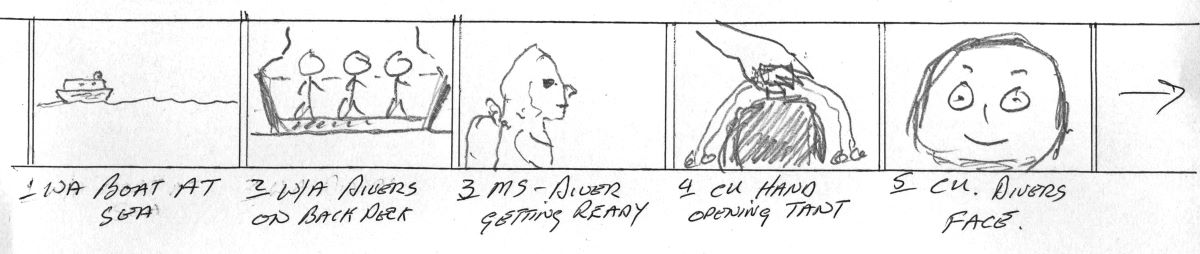
Another great advantage of working through a storyboard is when you are working with and filming another diver. Communication underwater is not easy, although if you work with someone for a long time you do develop an instinct for what the other is thinking. But if you do not have that rapport, then a story board will give both of you a clear understanding of what is needed. Also, when working through a possible storyboard, you are creating an atmosphere for innovation; ideas will pop into your head that otherwise may not have materialised.
Later on, when you come to edit, you may have many hours of video to go through, and here again a storyboard from a shoot many months ago is going to be very helpful in reviving those original thoughts.
Next Time: An Introduction to Editing
Find the full course at diveraid.com/action-camera.