Excerpts from Jeff Goodman’s Book Action Camera Underwater Video Basics, Part 2 of 6: Underwater Lights & Lighting

Having spent your money on a camera, you may be a little reluctant to spend any more on a lighting system. But believe me, it is worth the investment. Even a small, simple light is going to make a world of difference to your images.
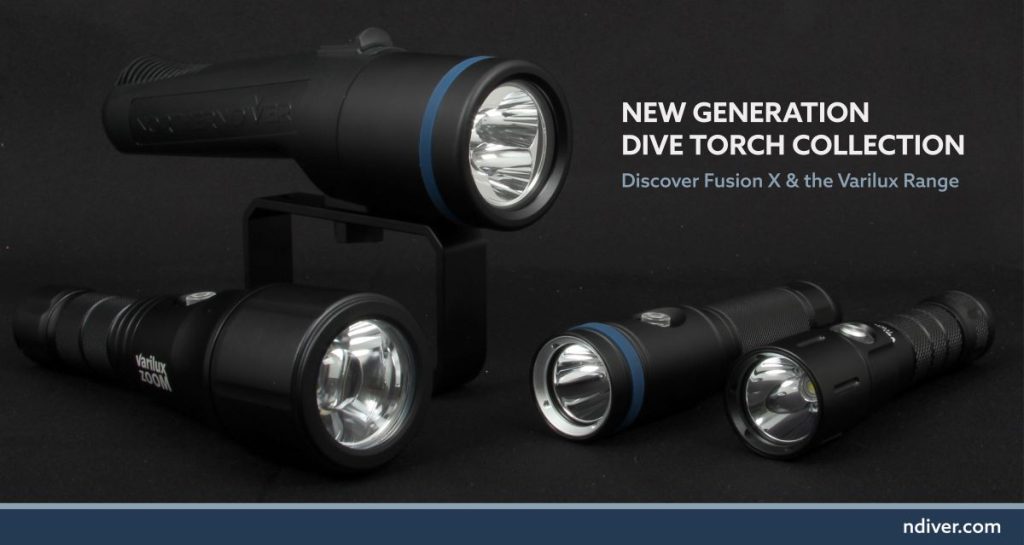
Remember the basic rule with lights, as with everything else, is that you get what you pay for. A small plastic-cased light of low lumen count will cost far less than a large aluminium-cased light of high lumens. A more expensive light should give you more power options, allowing you to choose output strength. This is usually controlled with power button presses: one for full, a second for half power, and a third for quarter power. This gives great flexibility in your lighting when close to a subject, allowing you to balance the power of the light with the camera exposure and ambient light. Lower power output options will also extend battery life. Higher-end devices should also give a wider spread of good, even light without any hot spots. Read the manufacturer’s specifications carefully, and also have a look for advice online from people who have already bought the light you are looking at.
I have talked with many divers who feel that the more powerful the light, the better their video will be. For me, this is not the case. Over-lighting can produce horrible results, especially when you are quite close to the subject. However, powerful lights can be an advantage when lighting large areas from a distance. On the face of it, lighting looks extremely easy. Just put the light on and shoot away. If only it were that simple. Adding artificial light is crucial to getting great underwater video but, at the same time, if done badly, it can totally ruin all your efforts. I would say that no lighting at all is far better than bad lighting.
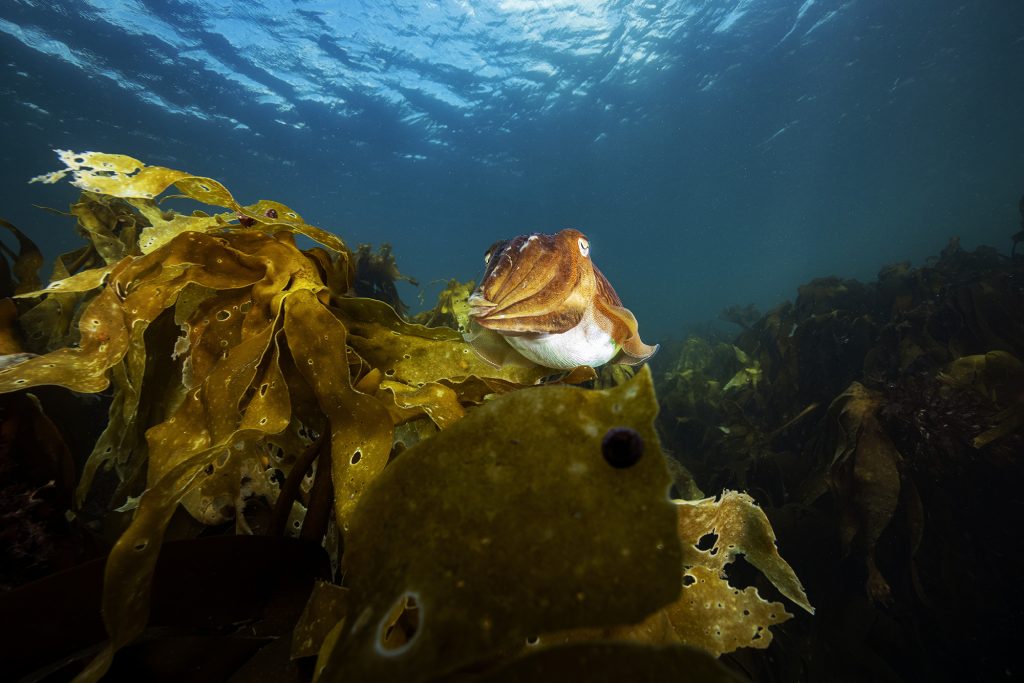
Early lights were always fitted with a tungsten filament, which was red in colour output. Now most lights use LEDs, which are blue-biased, matching daylight. Surely this new trend is an improvement? Well, yes, it is. One of the first colours to disappear (get absorbed by the water) is red, so it does make sense to put some of that red back into a scene, as with tungsten lights. But a video light will only influence colour as far as its beam travels. So if you add red light onto a fish that is near to you, it may well look good, but the background water or reef will take on a very strange and artificial colour hue. On the other hand, a daylight-balanced light, such as a modern LED one, adds all the colours of the spectrum to the scene. So the subject simply becomes brighter, where the colours are rebalanced, thus closely matching the ambient and distant water colour.
Different camera operators have their own favourite type of light for particular applications. For general filming, my favourite is one of coated metal construction for durability and small in size for manoeuvrability — approximately 15 x 5 cm (6 x 2″) tubular. It has a maximum output of 2,500–3,000 lumens, with a dimming option for half power, a wide beam angle of 120 degrees with no hot spots, and a colour temperature of 6,500K. The following image of a turtle was taken using a single hand-held video light. There is more on lighting in the ‘theory’ chapter.

Lighting
My aim when using artificial illumination is to only raise the exposure level to that of the ambient light and no further. I am not actually lighting a subject; I am simply putting back some colour, balancing the video light with the ambient. Obviously, this only applies to daytime videoing, as at night your light source dominates, dictating exposure. Be careful not to over-light. In my opinion, this is the most common mistake any camera person can make — having a video light that is too bright and/or too close to the subject.
In the second image of pouting, the video light level matches the ambient light level. Areas not touched by my light still look natural. The fish on the right are gently enhanced with added colour, but overall exposure is unaffected — they remain in balance with the background. The light has simply replaced some of the lost colour and detail.
Remember that your video light, depending on its power output, will only have effect up to a certain distance. This is usually a maximum of about 2–3 m (6–10 ft) in daylight and 5–6 m (16–20 ft) at night time. If it reaches further than that, then it is likely too powerful for you to have next to your camera and should be turned down (if that is possible), or held further away by a willing assistant.
The above photos of a sea urchin on a reef are examples of a light that is too close to the subject and then at the correct distance. The resulting ‘hot spot’ in the over-lit image effectively ruins the shot.
NEXT WEEK:
Part 3 of 6 – Buoyancy
Action Camera Underwater Video Basics by Jeff Goodman is available now from DIVEDUP Publications:
https://www.divedup.com/shop/action-camera-underwater-video-basics-the-essential-guide-to-making-underwater-films/
About Jeff Goodman
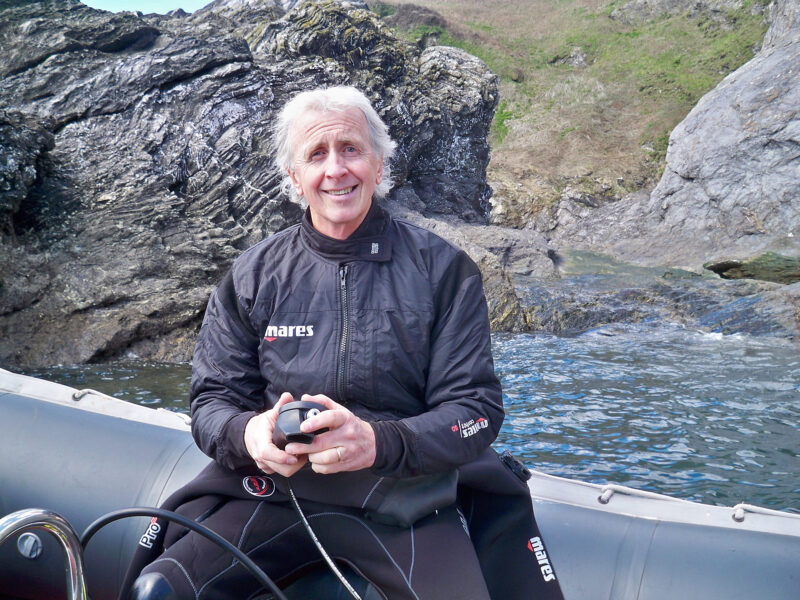
Jeff is a multiple award-winning freelance TV cameraman/filmmaker and author. Having made both terrestrial and marine films, it is the world’s oceans and their conservation that hold his passion, with over 10,000 dives in his career. Having filmed for international television companies around the world and as author of two books on underwater filming, Jeff is Author/Programme Specialist for the Underwater Action Camera course for the RAID training agency.
Jeff has experienced the rapid advances in technology for diving as well as camera equipment, and has also experienced much of our planet’s marine life. He has witnessed, first-hand, many of the changes that have occurred to the wildlife and environment during that time.
Jeff runs bespoke underwater video and editing workshops for the complete beginner up to the budding professional.