Underwater Photography Essentials: Part 4

Tips, ideas and advice for budding underwater photographers
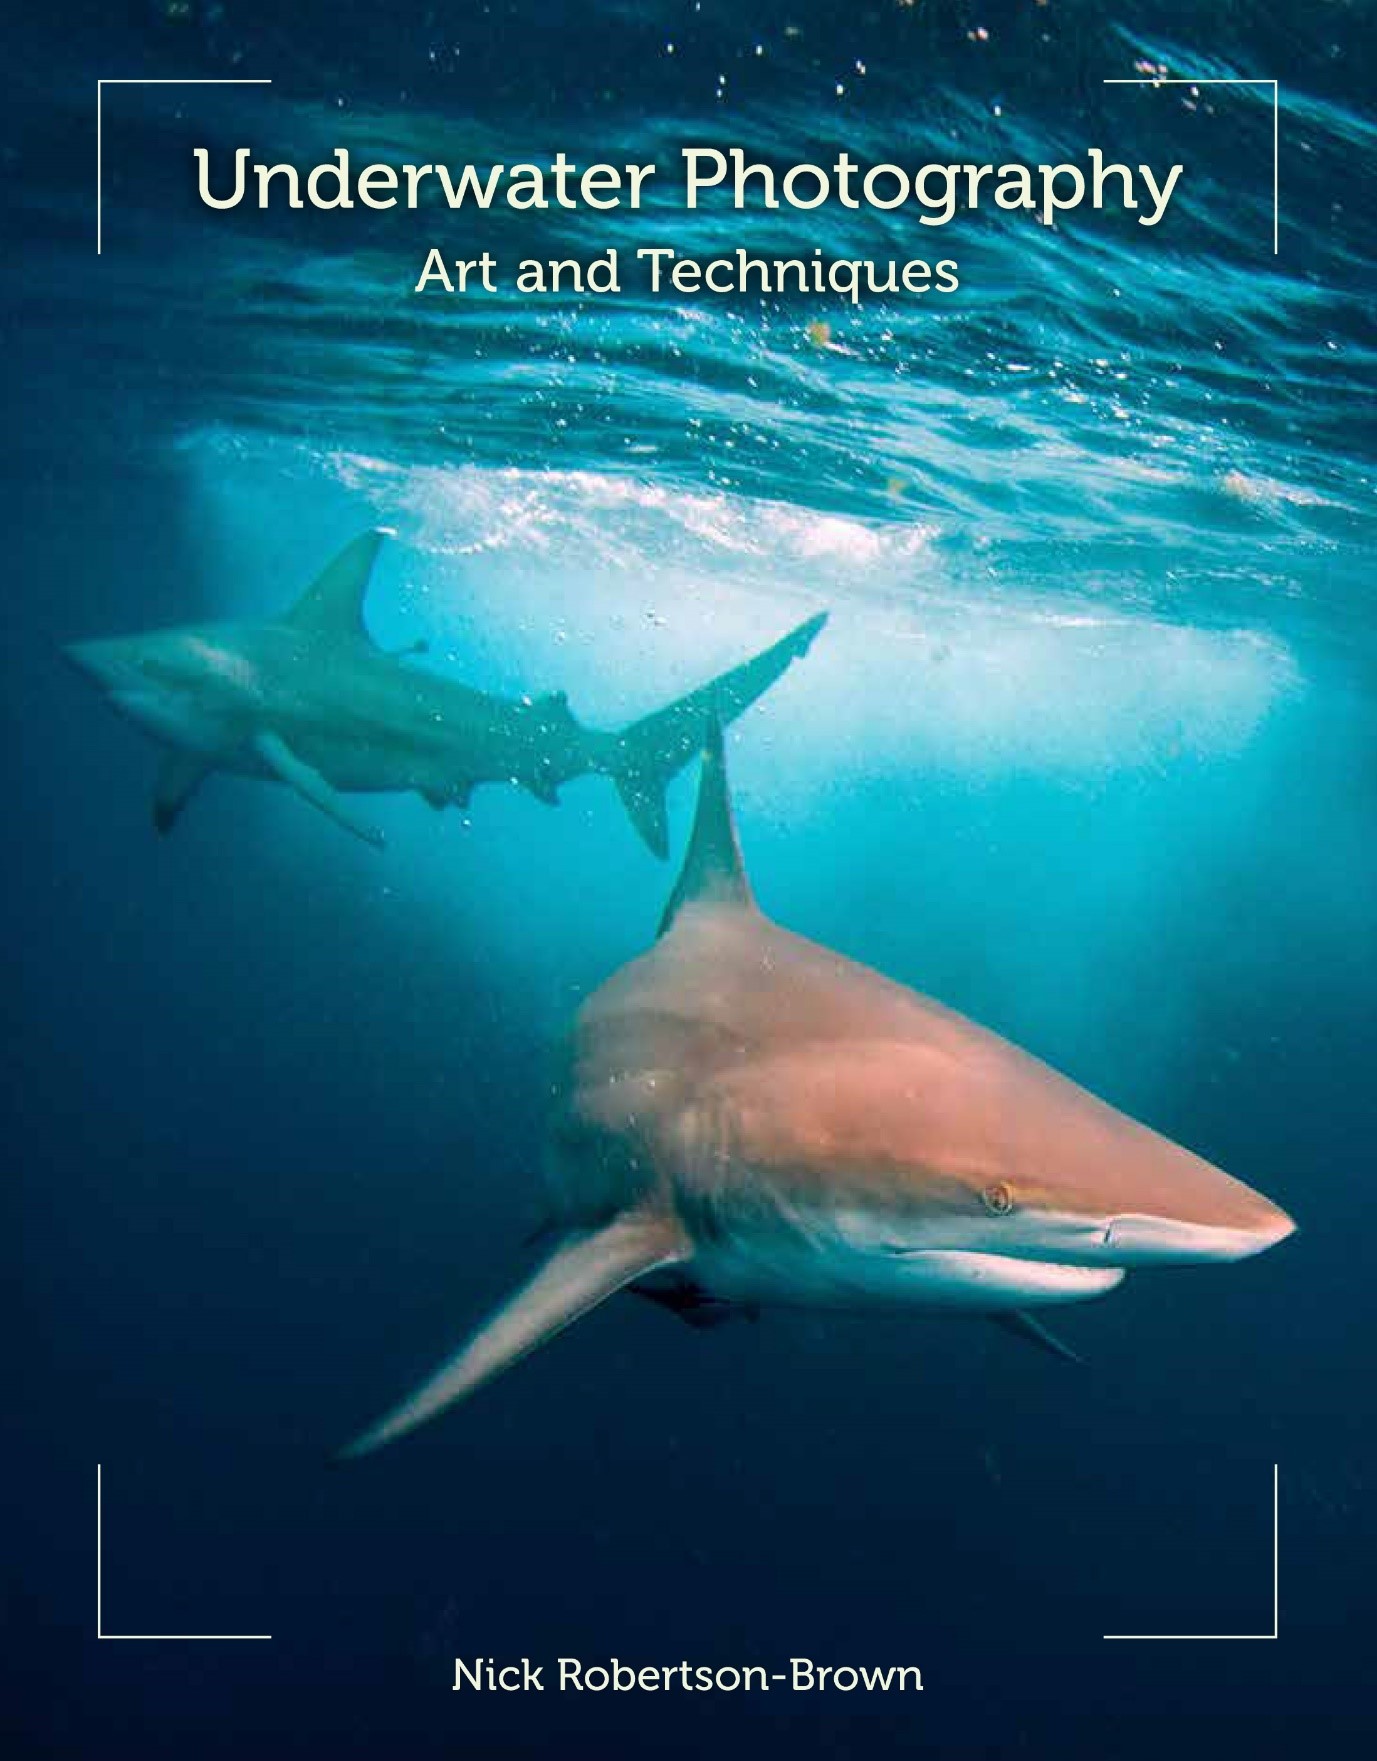
by Nick Robertson-Brown FRPS
Part 4: Composition – Rule of Thirds
 So far in this series we have discussed the technical aspects of how we get the right amount of light onto our subject in order to present it as we would like people to see it, i.e. as we imagine it looking through the viewfinder or on the screen. This technical part of capturing the image has more than a small element of artistry, as changing the f-stop will create a greater or lesser depth of field, allowing more or less of the background to be a part of the image. However, composition is pure art, and as you manoeuvre the viewfinder to your eye, or look at the screen on the back of your camera, you should now be thinking about how you want to frame the situation that you have in front of you. If you have got all the technical aspects, correctly set, then all you now need to do is to compose the scene.
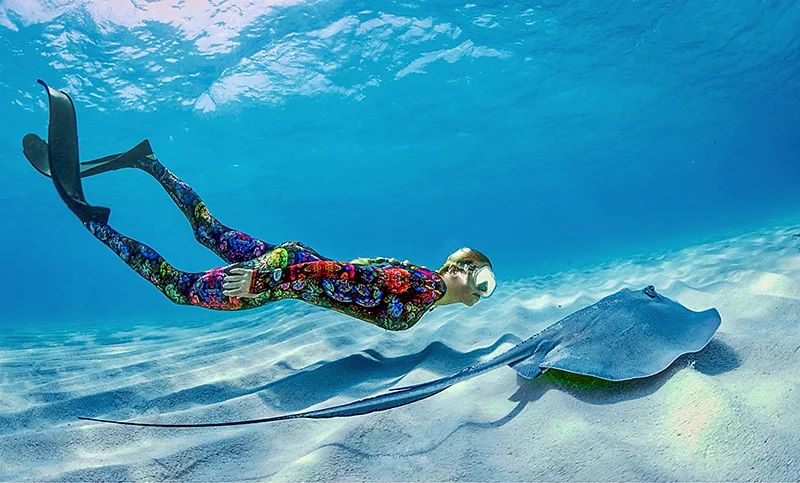
The first thing you have to decide when composing or framing your image is to know what the subject is. This may seem like a ridiculous thing to say but you need to decide on a single focal point; something, or someone you want to draw the viewer’s eye towards. This does not mean that you can only photograph one subject in the image, but you should make one individual, or one group of individuals, the centre of your attention – the subject. It shouldn’t necessarily be in the centre of your framing either, rather you should try to lead the viewer’s eye line through or towards it. You may capture a fantastic image of say a cuttlefish in aggressive mode attacking it’s reflection in your lens, but if the background is messy or interfering with the shot, then the image probably will not work. Anything in your image that distracts the eye away from the subject should be eliminated. Another important factor is the negative space, and any negative space that you use in an image can be as important, sometimes more so, than your subject. Negative space is simply the area that surrounds an object and so this, by definition, defines the boundaries of the positive space that you are using for your subject.

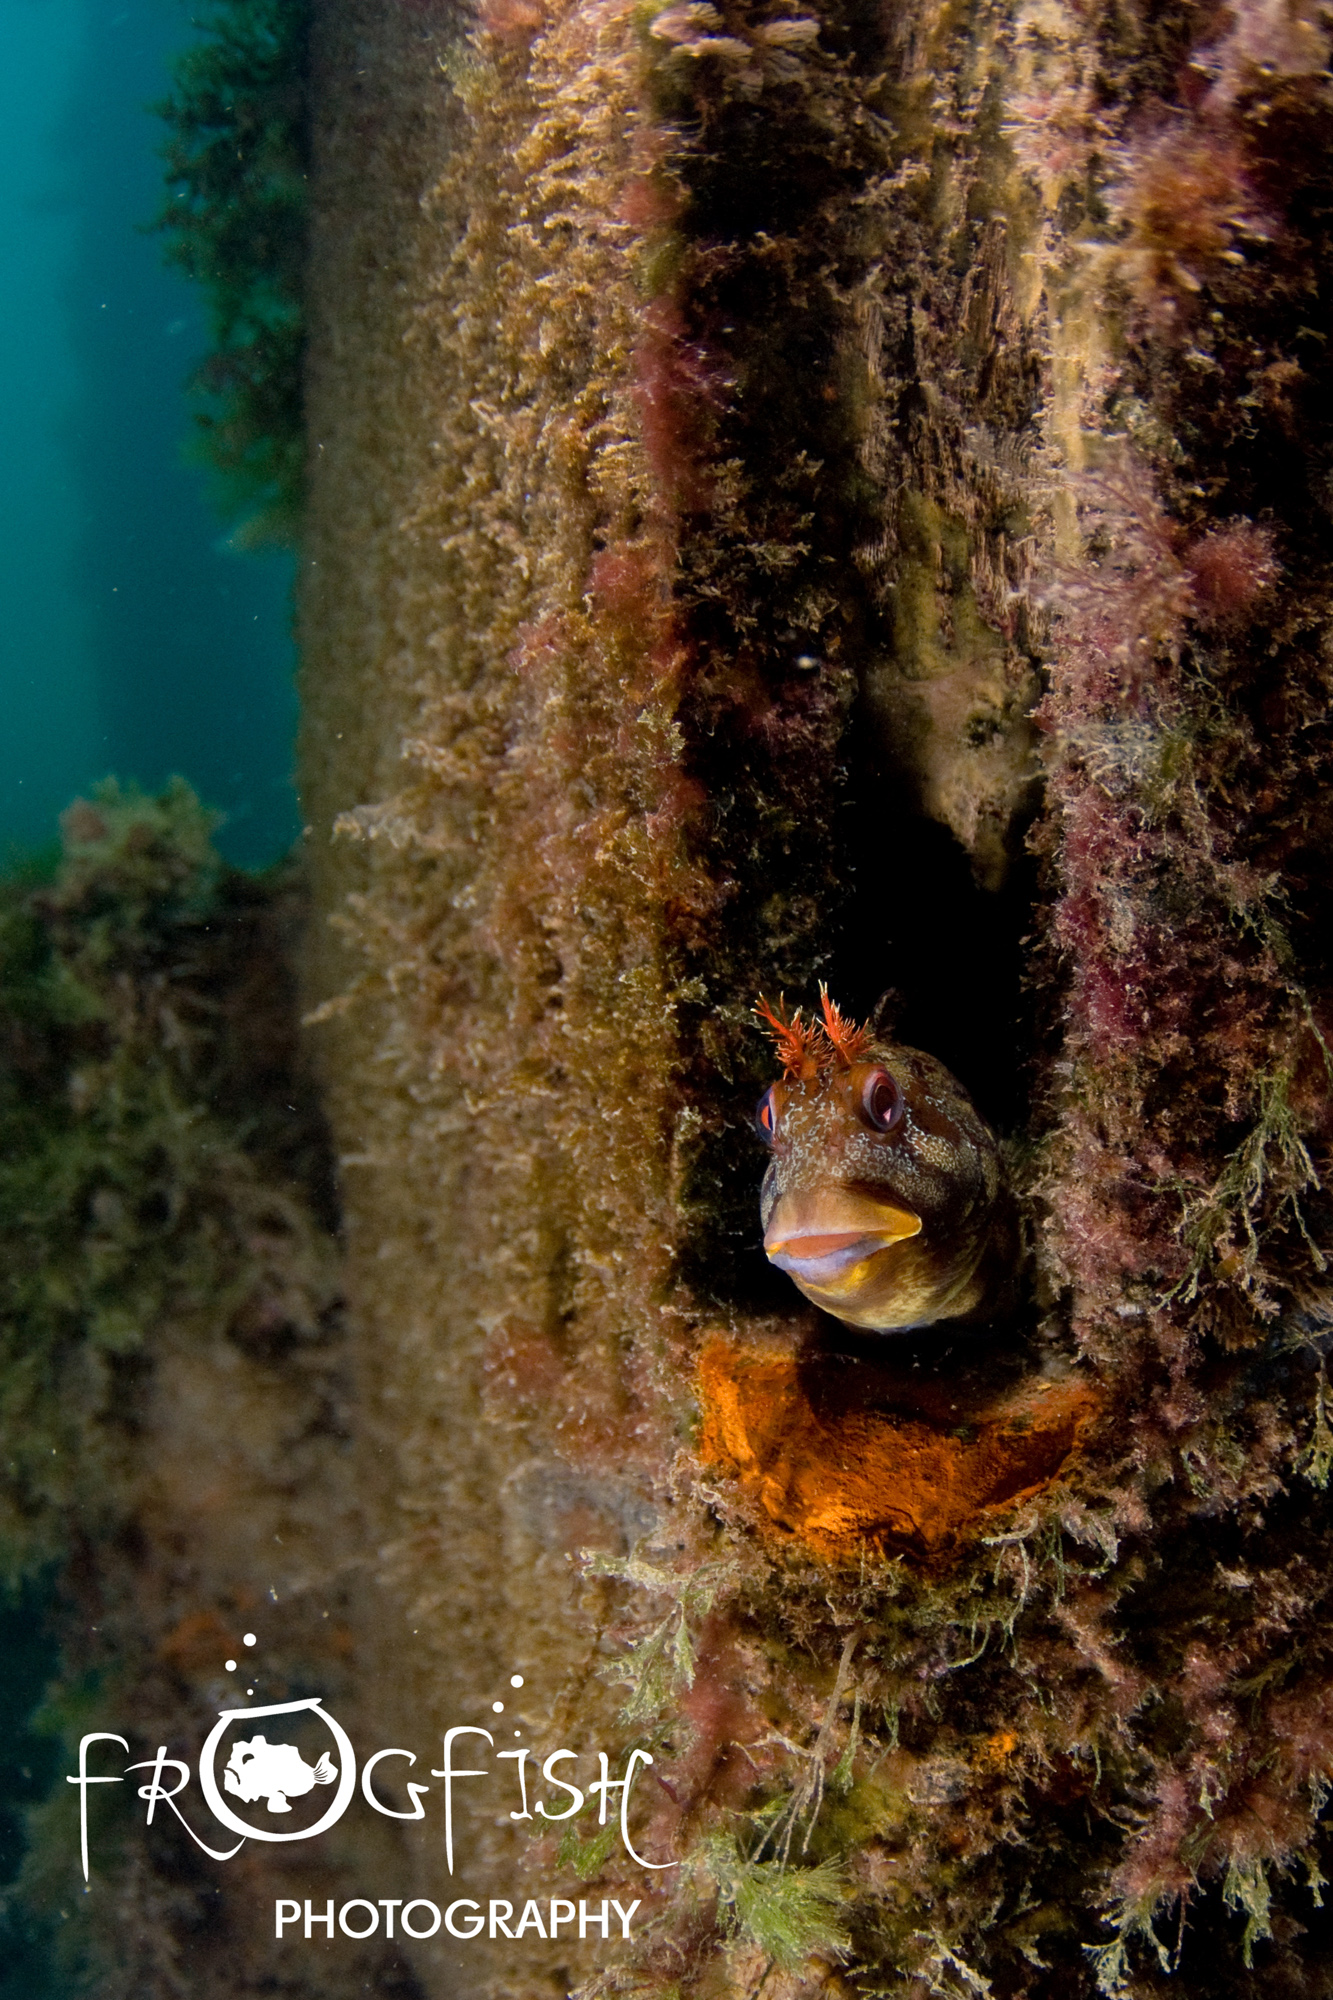
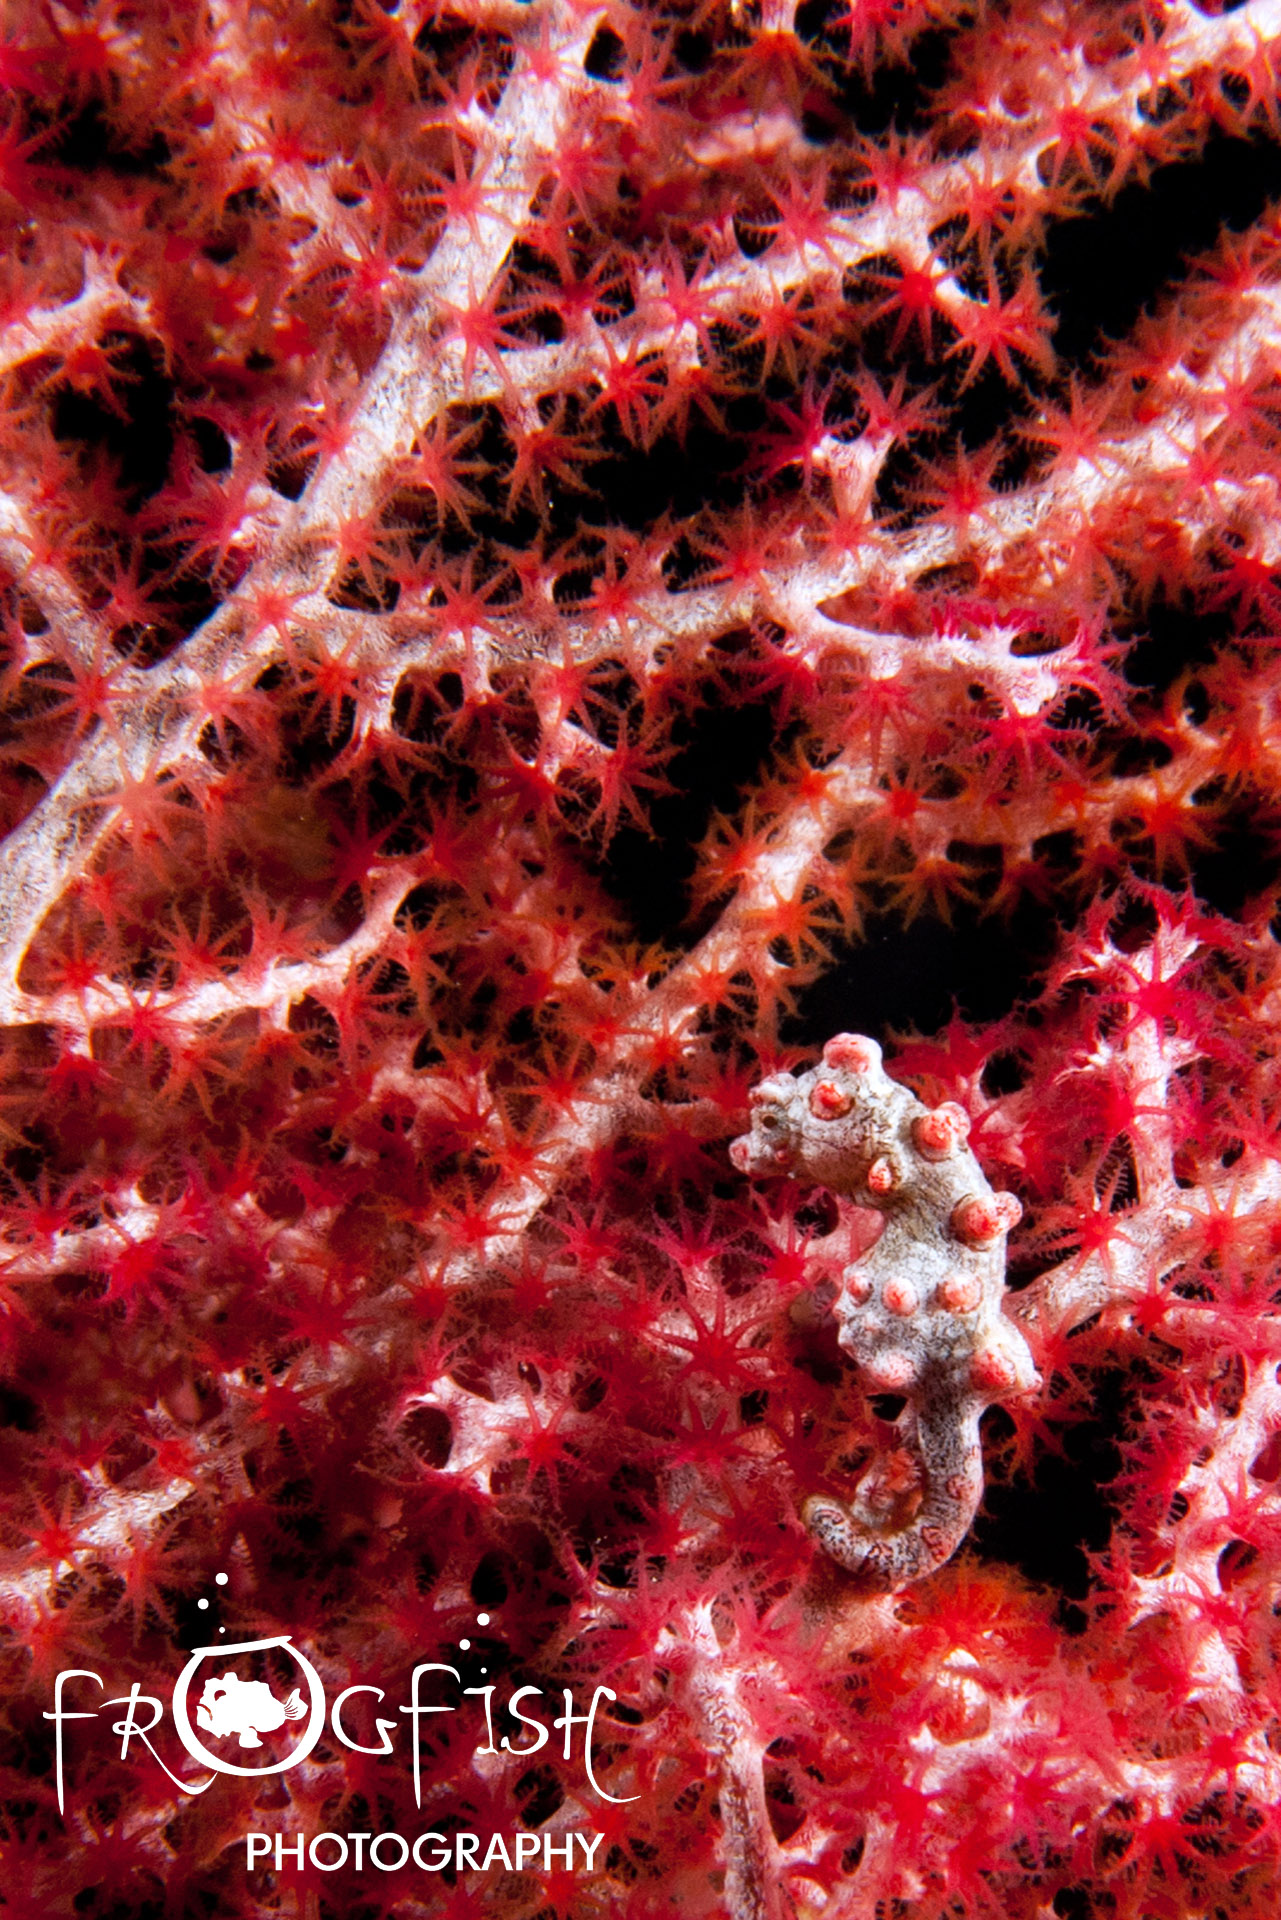 There may, of course, be occasions when you deliberately want to put your subject in its environment. A common, but often successful, use of this technique is the anemone fish protecting or guarding its host anemone or another example is a pygmy seahorse in its sea fan.
In any photography book, you can find rules and guidelines about composing images, but you should always remember that they are just guidelines and some of the best pictures can break all the rules. It is, however, a good idea to have them in your head as it has been proved many times over that there are certain formats that the human mind find appealing.
Rule of Thirds
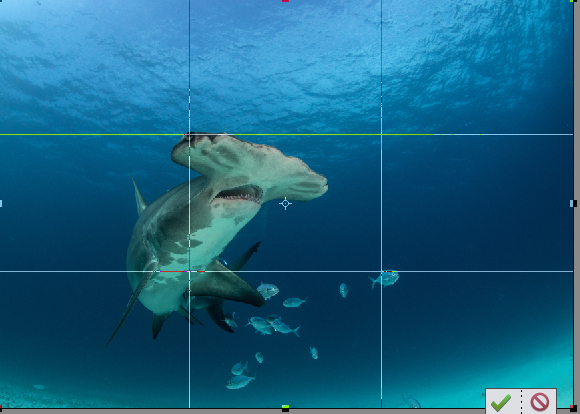
The first of these is the rule of thirds, and this should be one key component to consider when you are framing your image. The idea of the rule of thirds is to divide your frame into nine equal sections and using this imaginary framework, you can then decide where to put your subject. Many cameras have a function where you can see this grid on the screen to help you with this. This can be very helpful as it may assist you in composing your image in a variety of ways. Firstly, you should look at the four centre crosses where the lines intersect, and rather than putting the centre of interest (your subject) in the middle of the frame, you should pick out a prominent feature from your subject and place it at one of these intersections. Putting your subject right in the middle of the image is called bullseye-ing and generally, although not always, doesn’t work.
Another way to view the rule of thirds is to look at the horizontal divisions where, for example, the top third could be used as negative space, with the subject placed across the middle and the supporting baseline, running along the bottom. This technique is particularly useful when photographing subjects such as underwater landscapes or a wide-angle shot of a wreck. You can use the foreground as a supporting baseline, with a reef or a wreck along the centre and the top third should be the negative space, although this would also work really well with a diver or other subject hanging in it to balance the overall image.
————————————————————————————————————————————————————
 Do you want to learn more? You can pick up a copy of Nick’s book “Underwater Photography Art & Techniques” by clicking here. For a signed copy, click here.
Underwater Photography Courses
Contact Nick for information on the Frogfish Photography Complete Underwater Photography Award, designed for 1:1 and small group sessions to improve your underwater photography at your pace.![]()
www.frogfishphotography.com | frogfishphotos@gmail.com | ![]() +44 (0)161 9177101
+44 (0)161 9177101